Kids Birthday Party

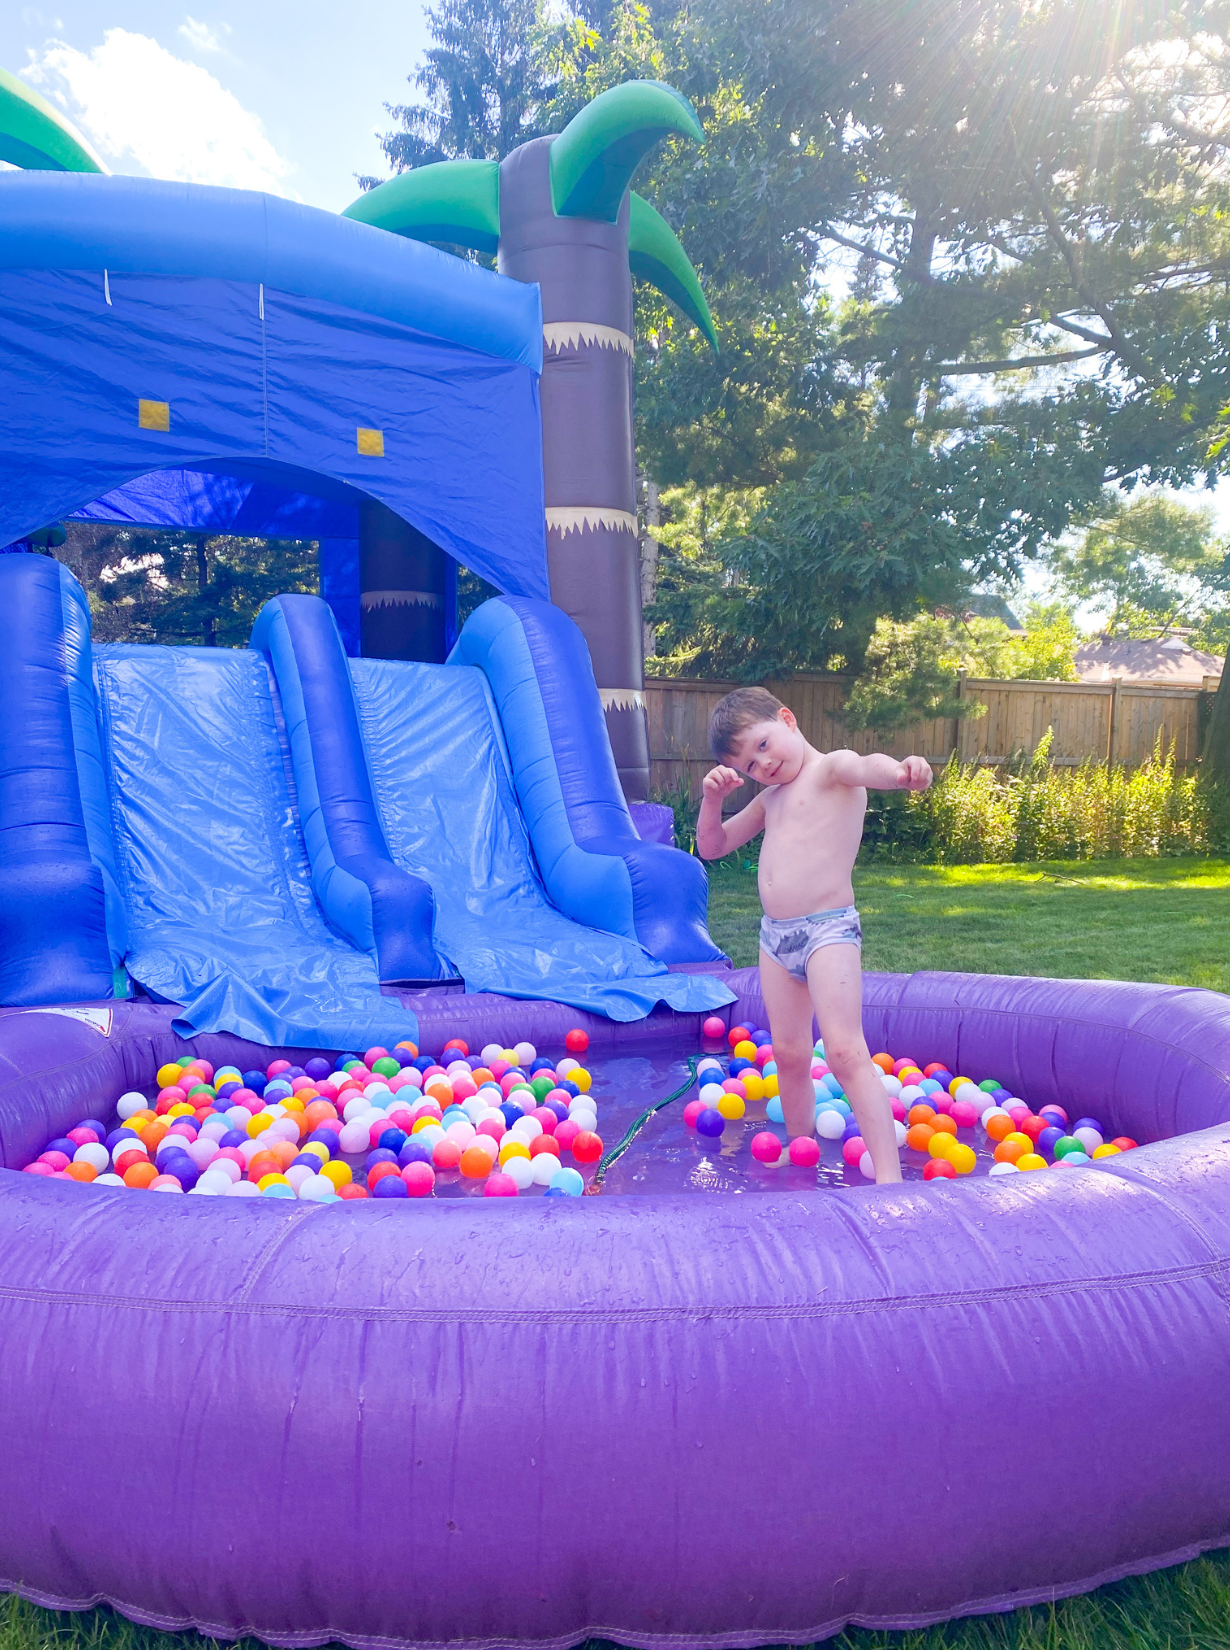

For Chet’s 5th birthday, all he wanted was a party! He wanted all of his best friends and a really big bouncy castle in the backyard.
But, I was going back and forth on whether to do a party at all, because let’s face it - it’s a lot of work. And if I was going to do a party, I was trying to decide if I was going to do it at home or at an indoor play space.
But in the end, our hearts won - and we decided on a DIY party at home.
Since I’ve just gone through the entire experience (the good, the bad, the ugly), I thought I would breakdown my DIY party planning here.
Invitations - they say you should invite 4-6 weeks prior to the event, but for this one I sent them out a week and half before - and had a great turnout. I got a digital card from Canva, customized it, and then sent it out as a text to our invite list with a RSVP deadline.
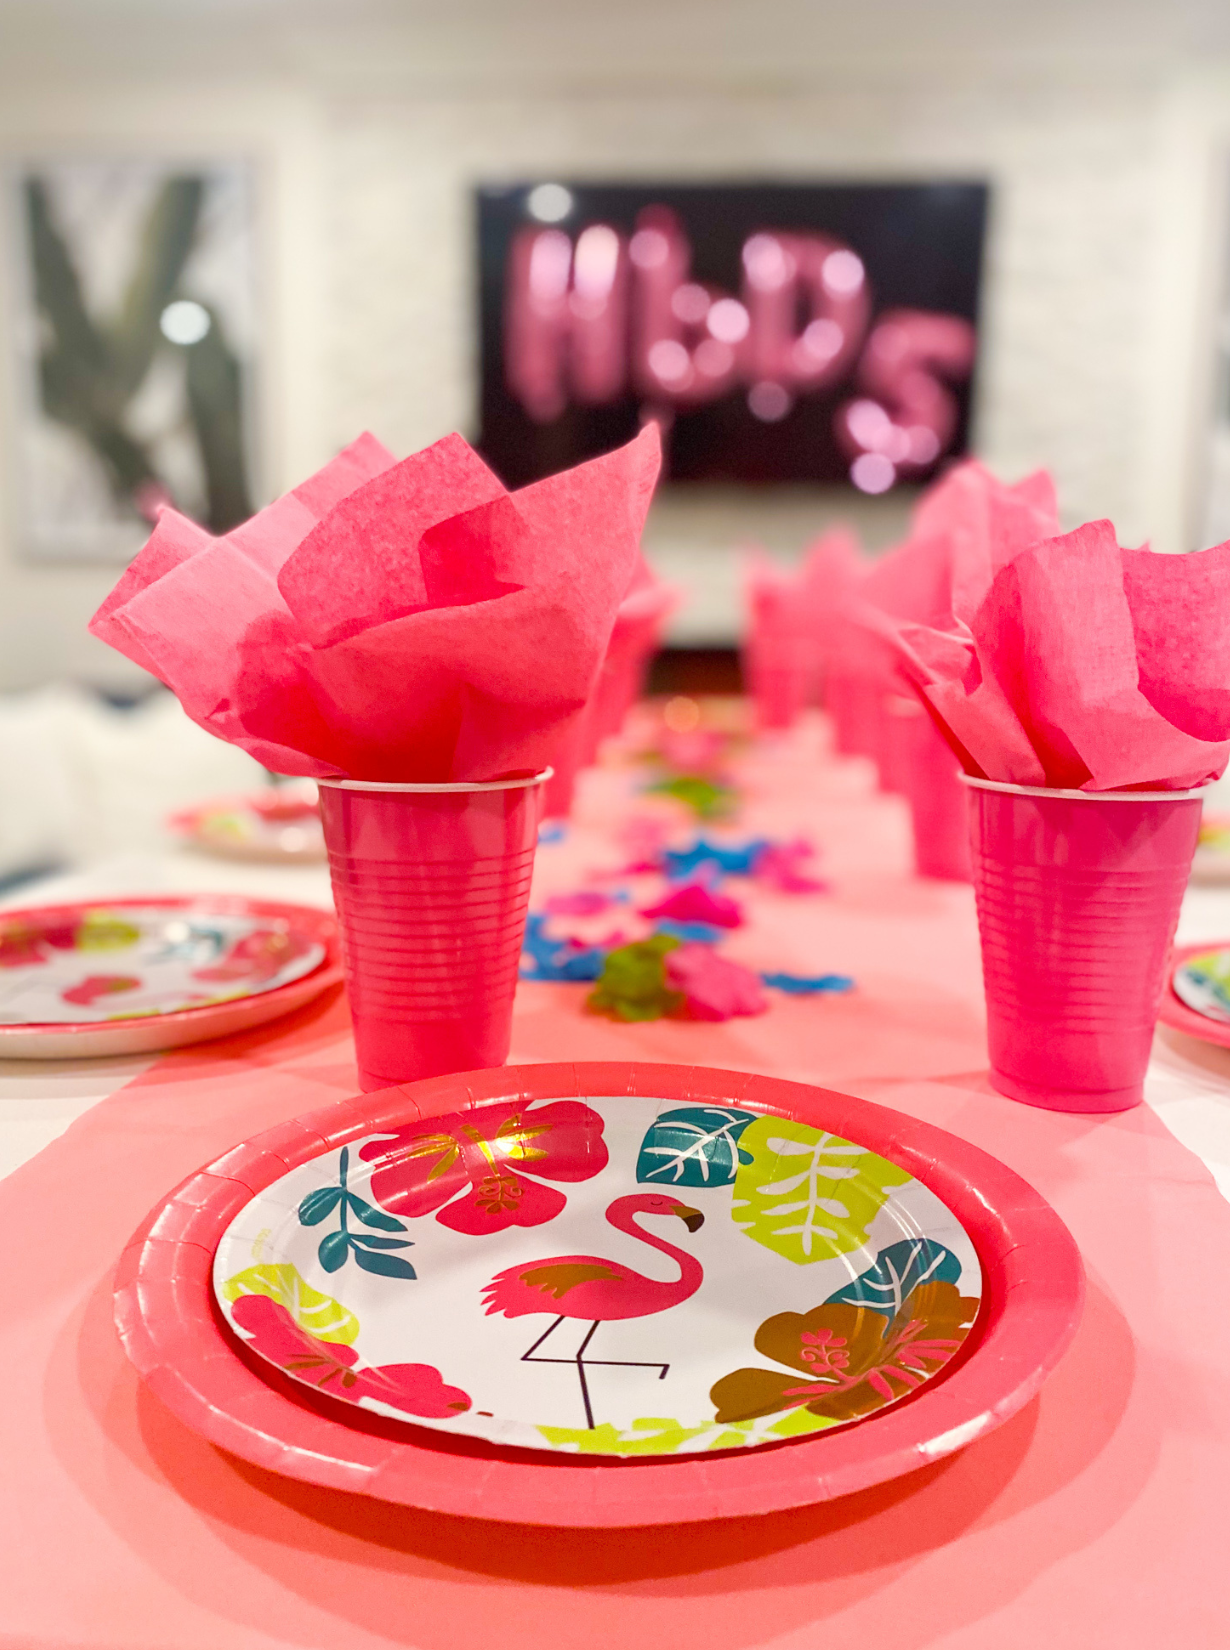
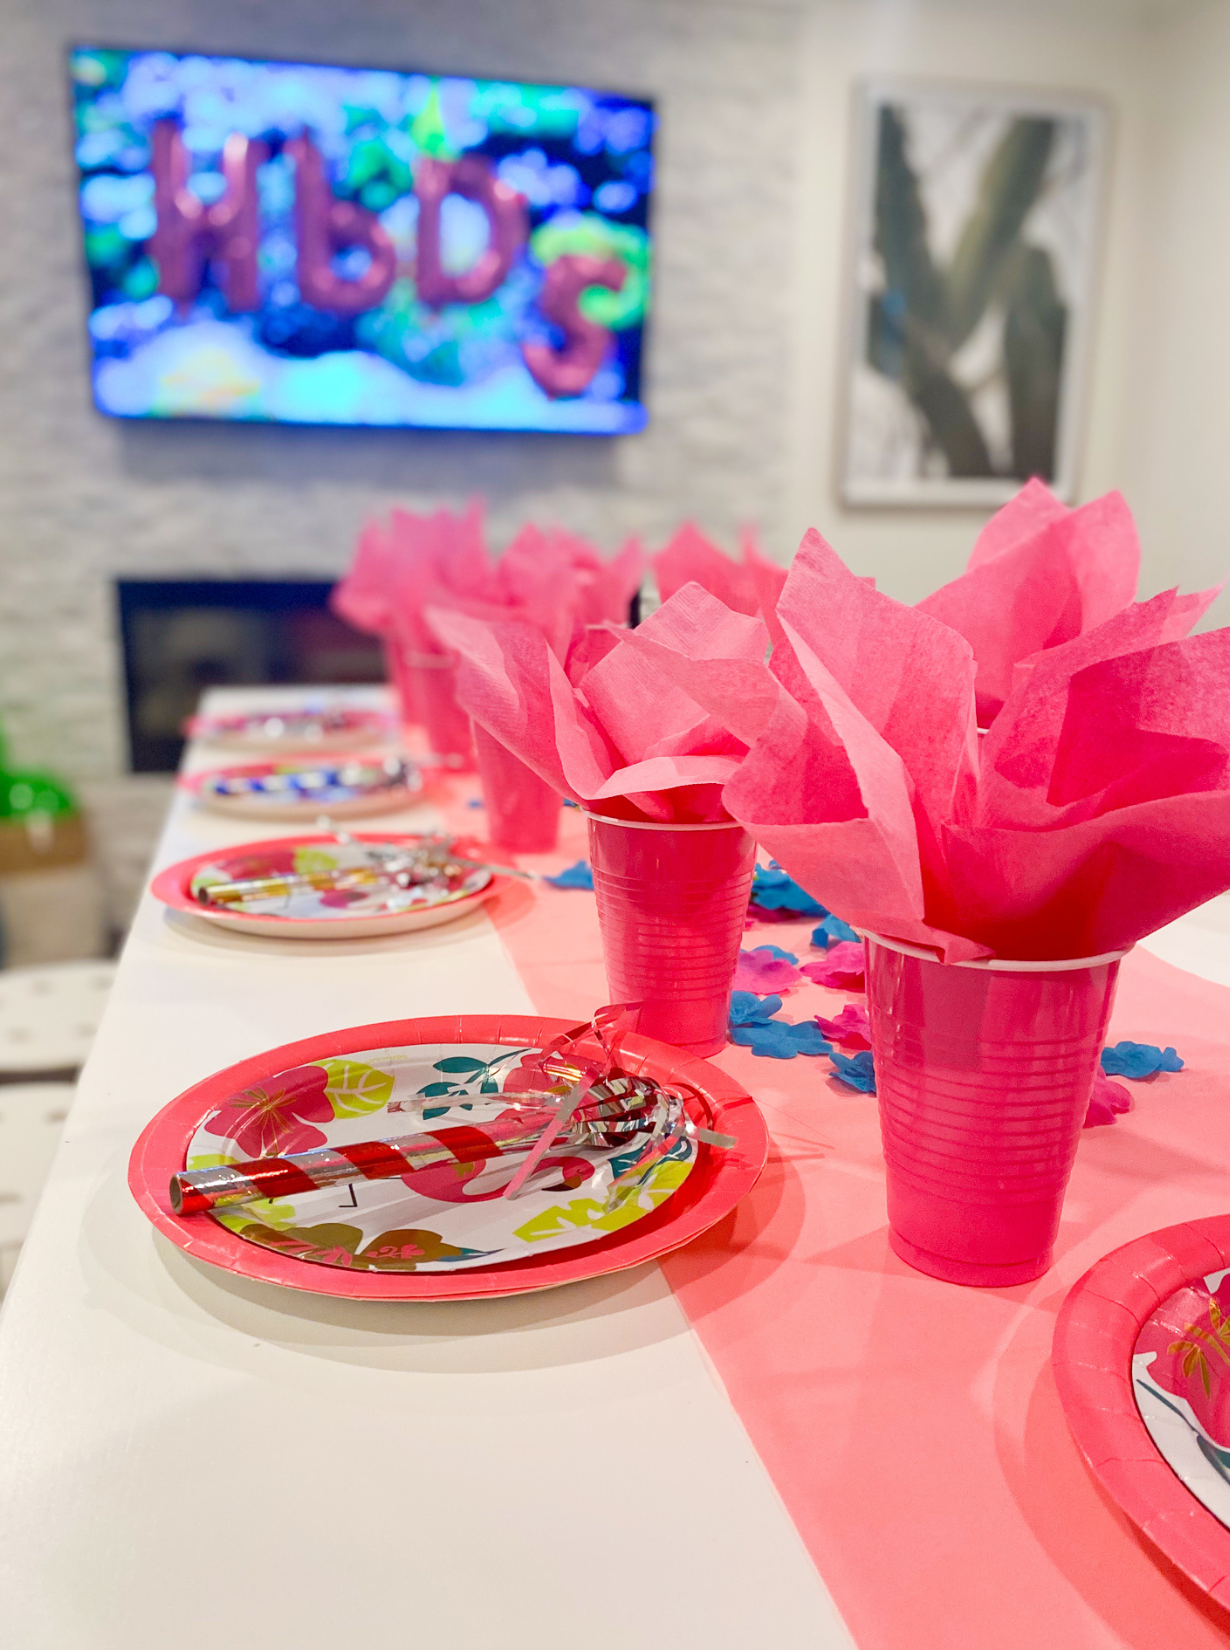
Theme - we had just returned from a beach vacation, which we all loved, and so I thought - why not bring the beach home with us. And so, I started researching on Pinterest all the fun ideas and colours I could bring in.
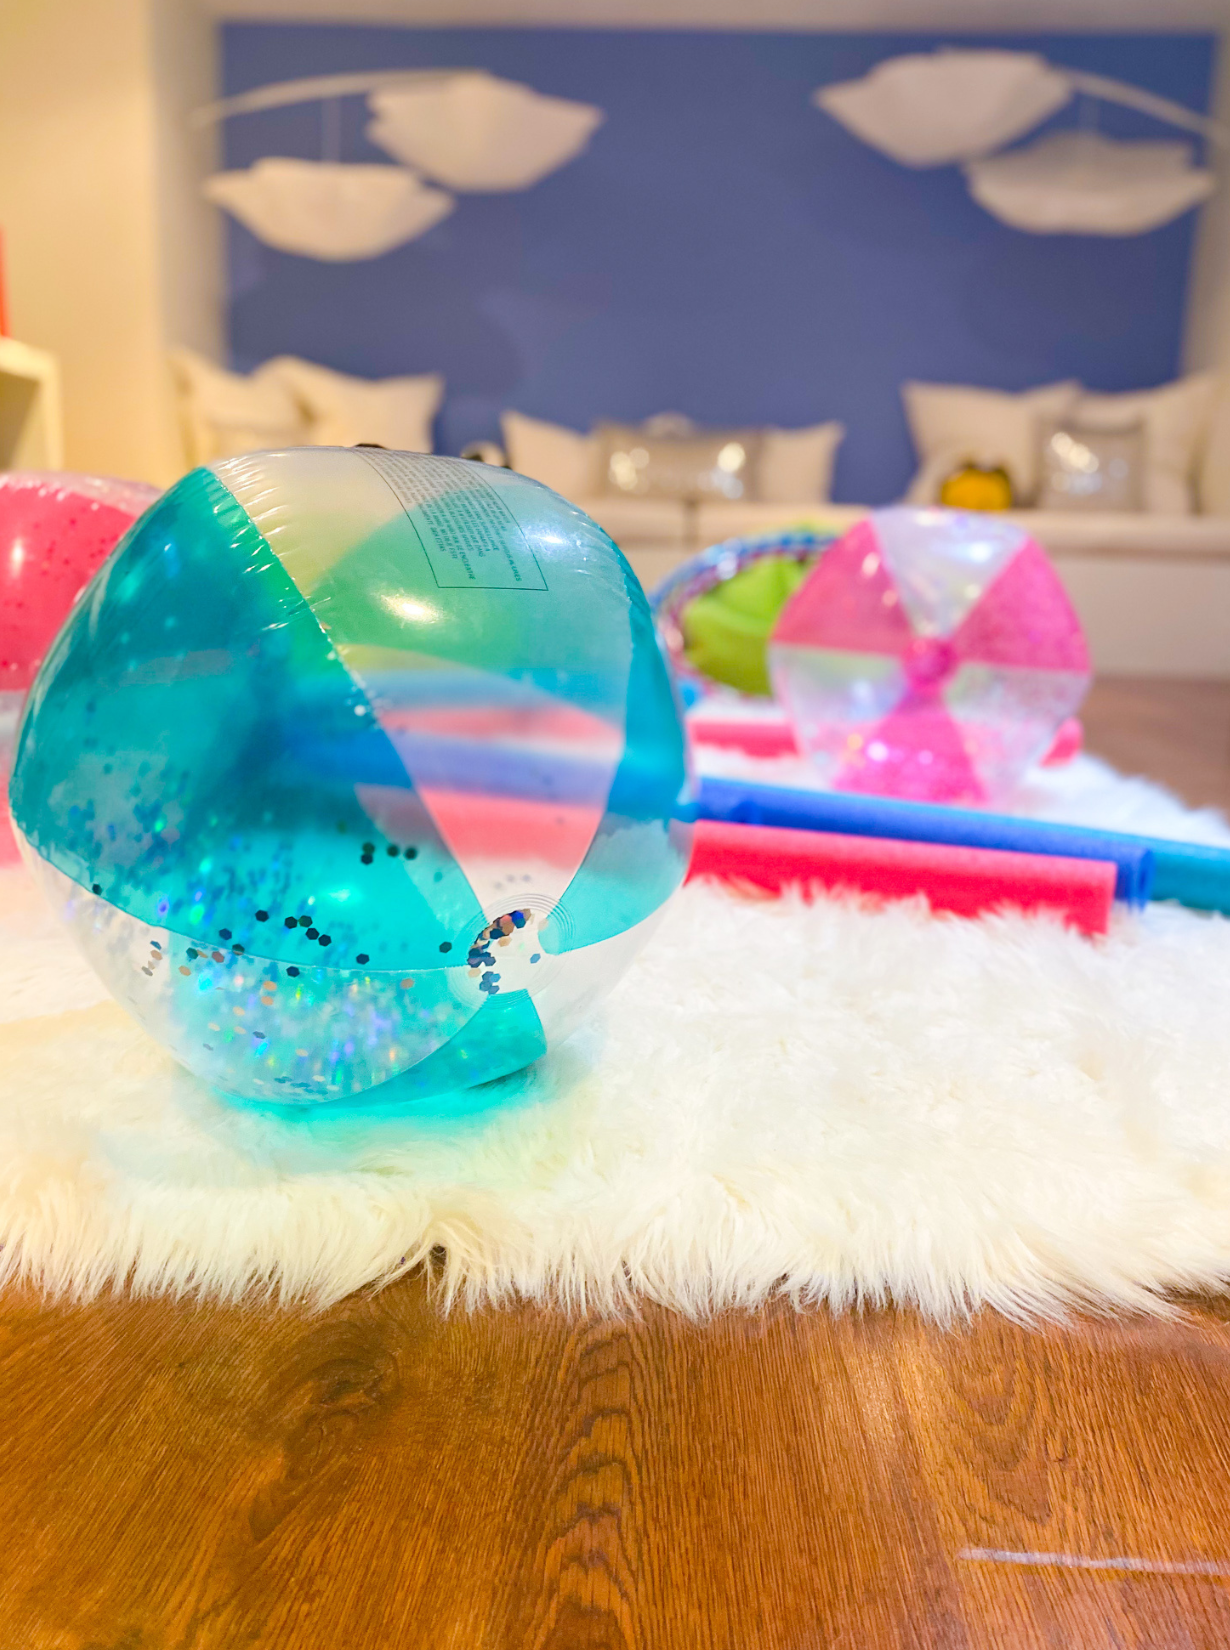
Activities - as we all know, we have to keep those little ones busy. And so, I created a rough itinerary for the two-hour party with the bouncy castle being the feature. We played, we ate, we had cake and played some more. I found Bouncy Blast, a local Ma & Pop shop, from Facebook Marketplace and negotiated a price. I then picked up some secondary toys (beach balls, hula hoops, and water noodles) from the Dollar Store.
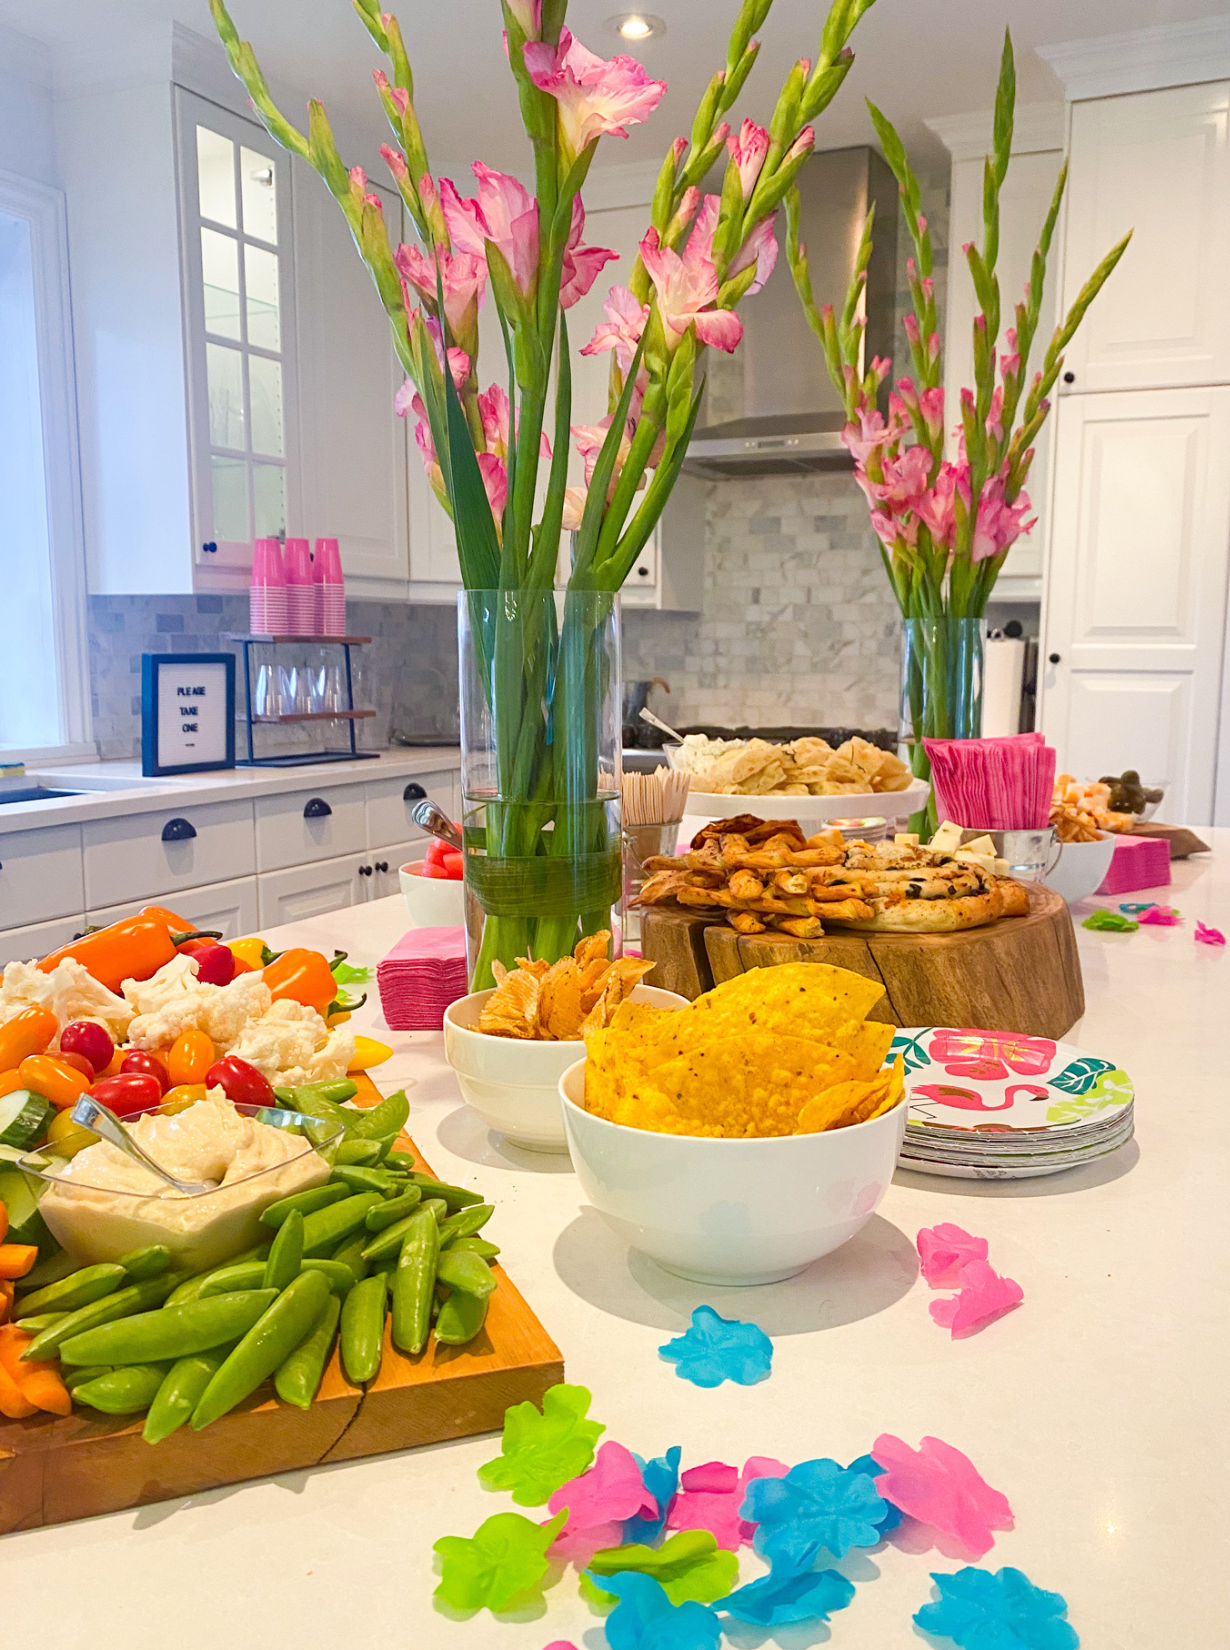
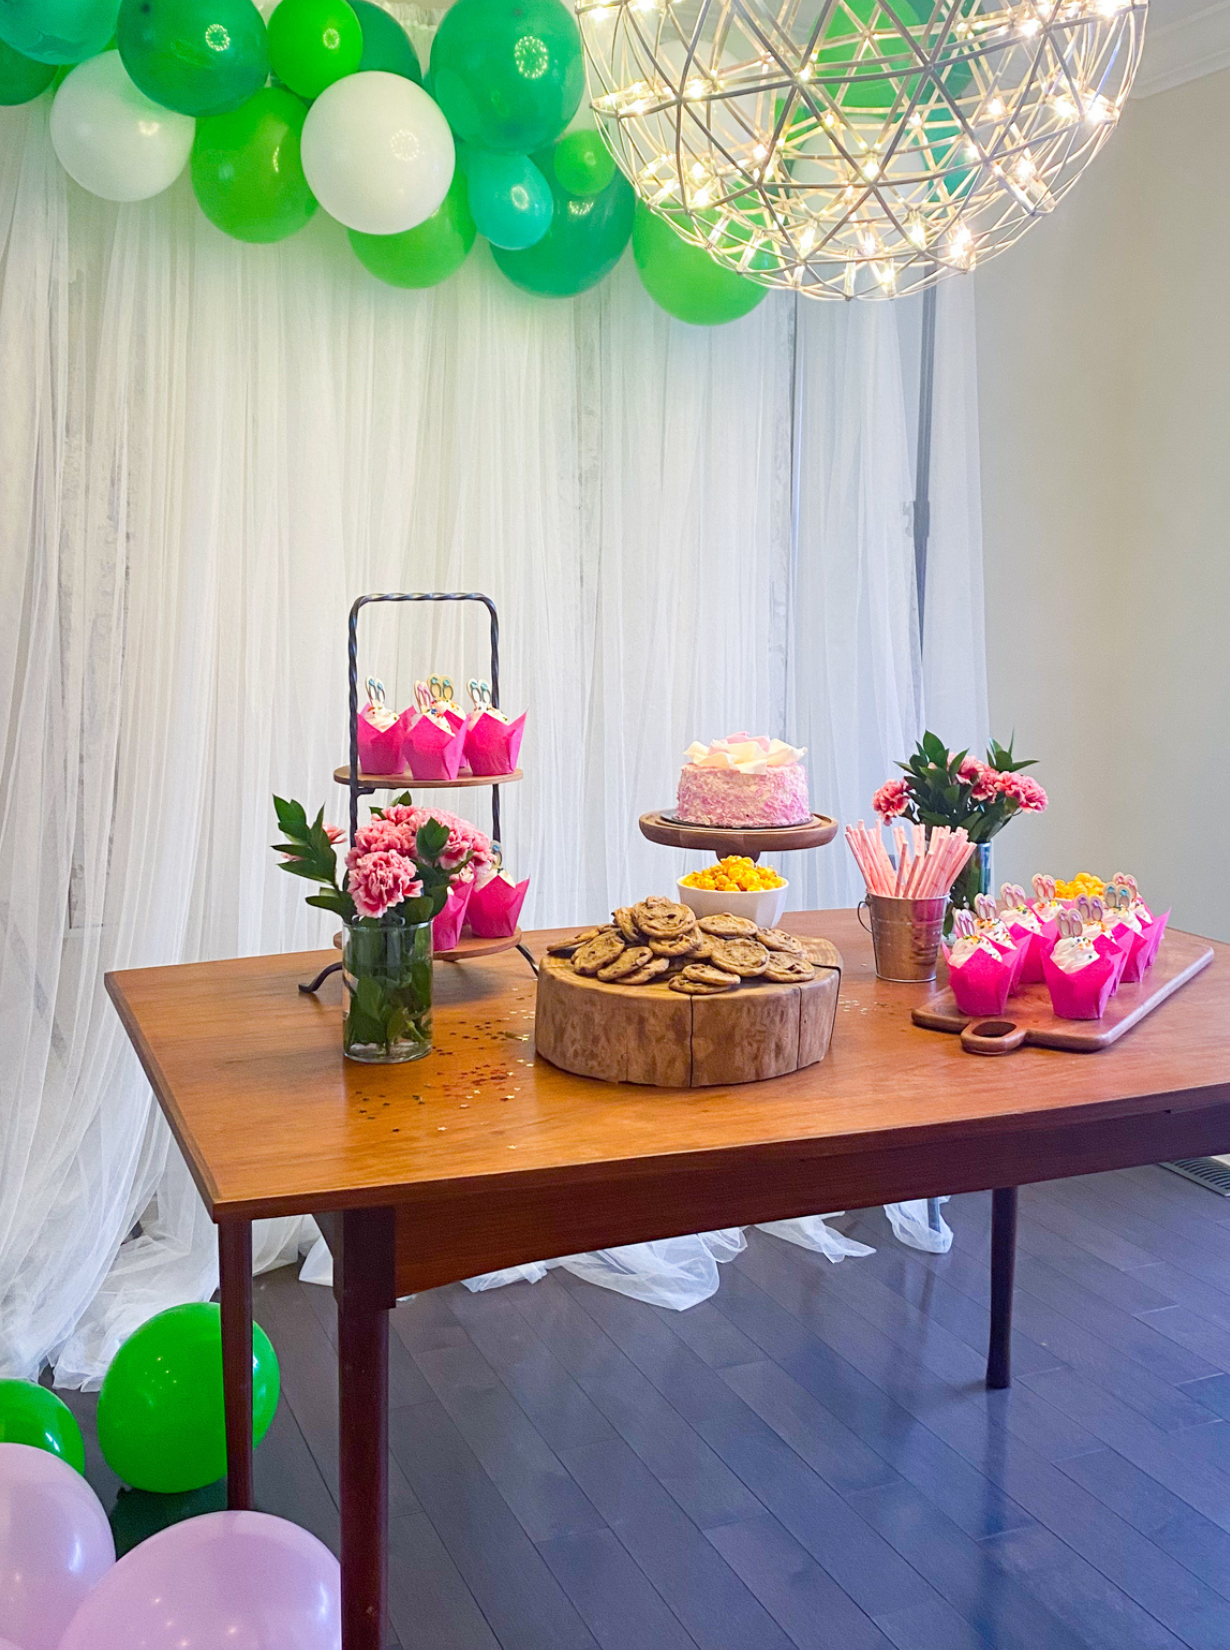
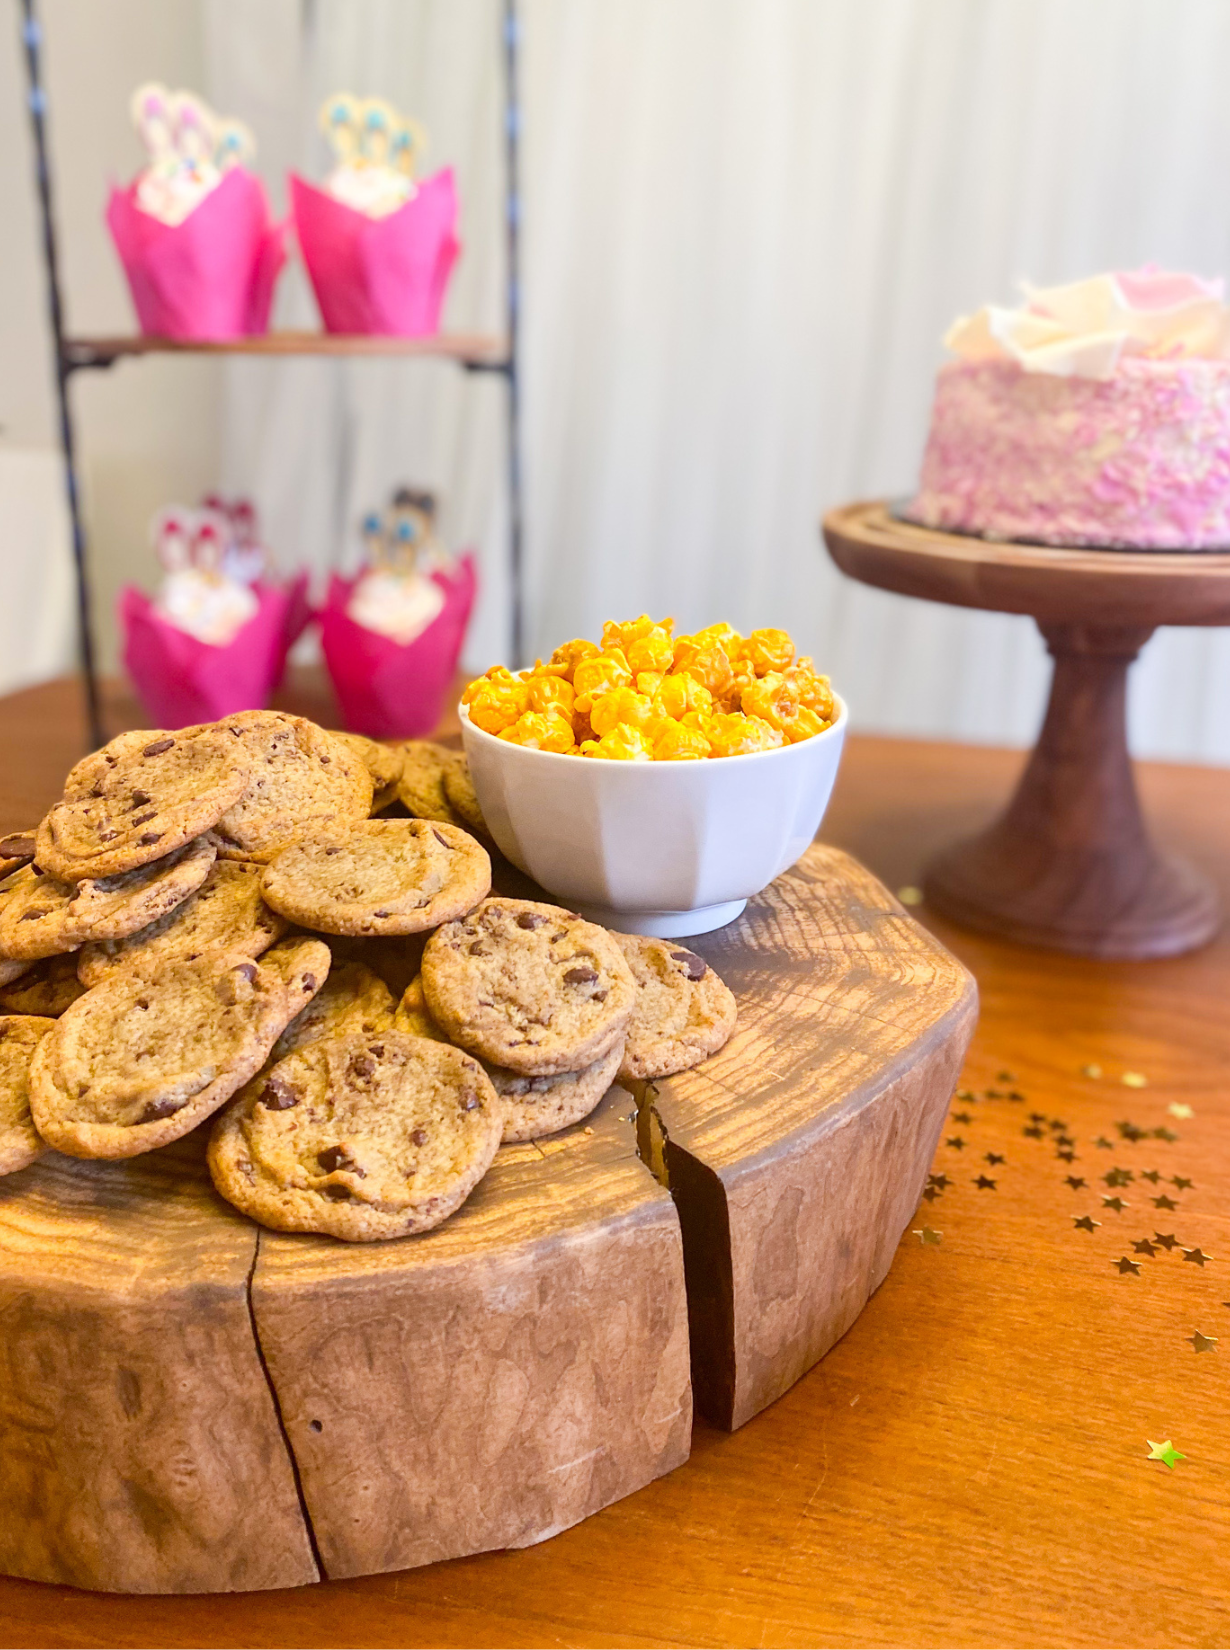
Food - for the most part, I pulled all the snacks together myself to create a huge spread. I stayed away from meat, hot foods and fancy hors d’oeuvres and kept it to yummy spreads, cheese, fruit, veggies and chips. I did the prep myself, and I think this all helped keep it cost-friendly.
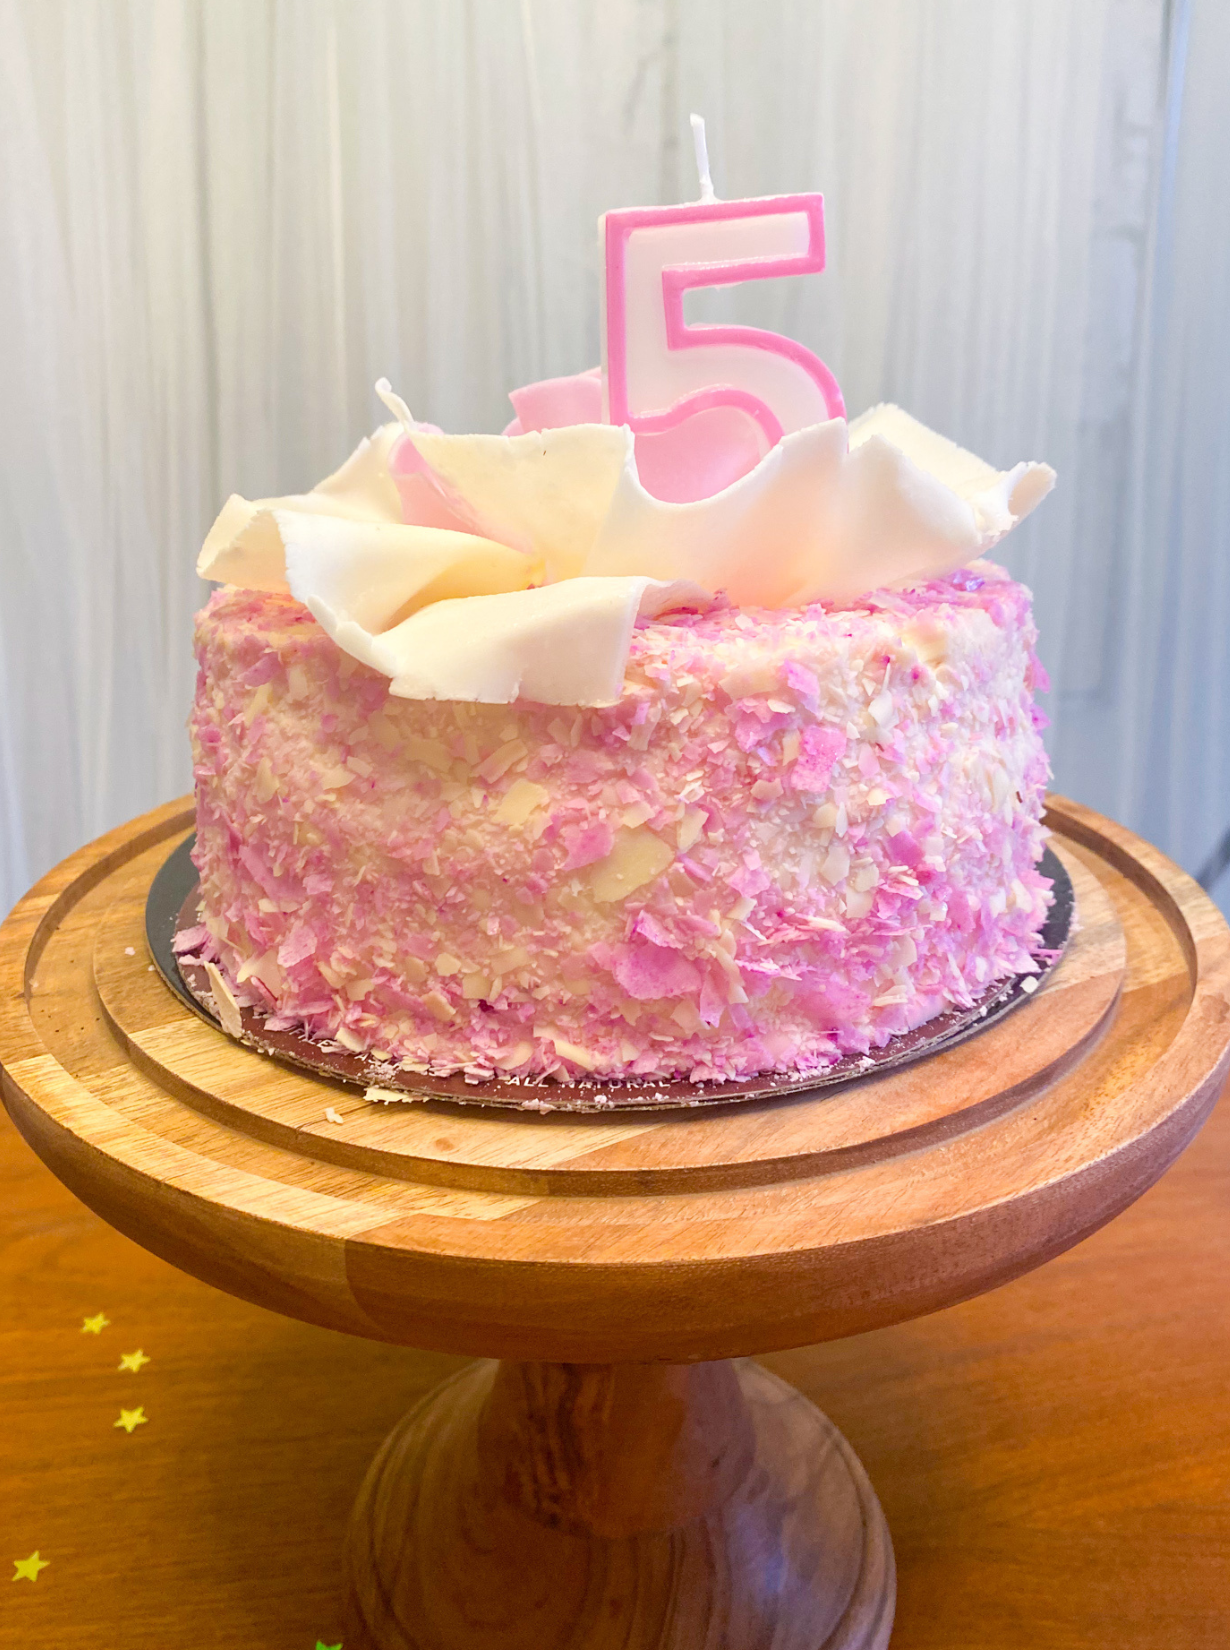
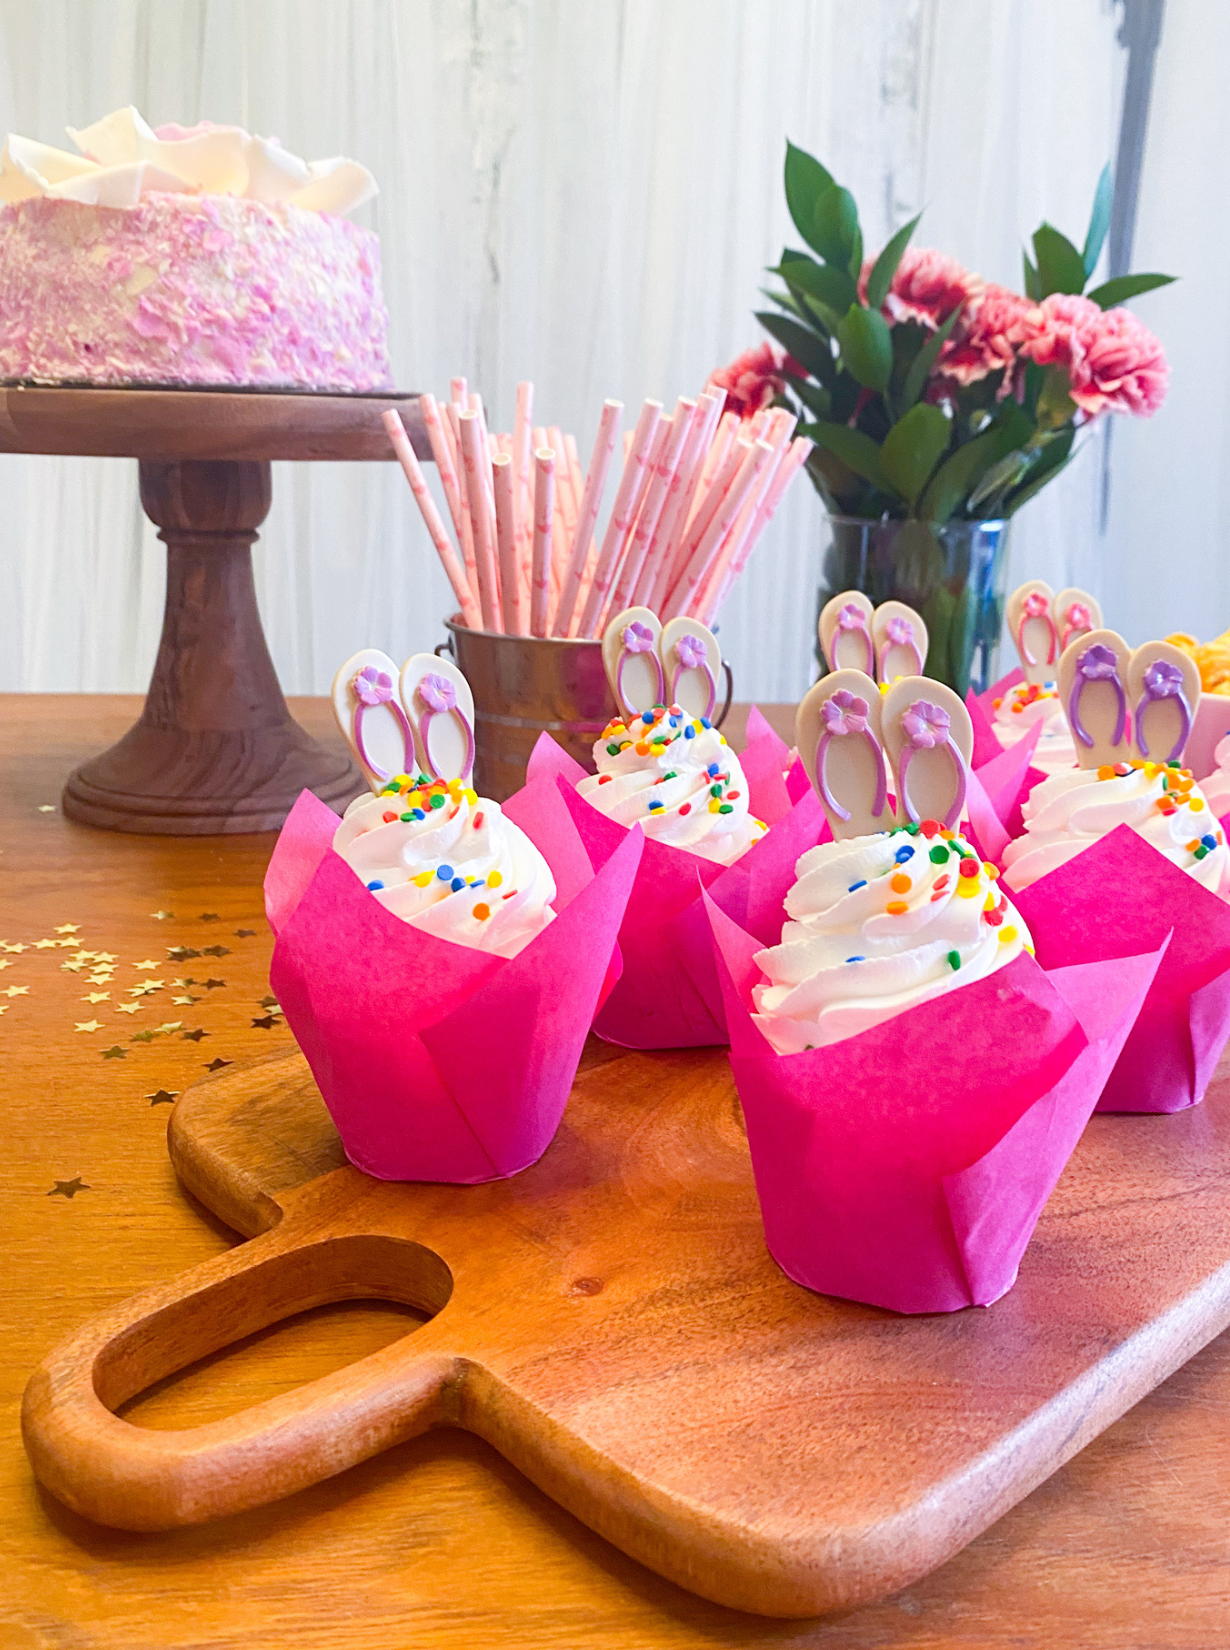
Cake - in the past, I’ve ordered from local cake artists (which I love, but it does get pricey). But this time I picked up cupcakes and a small cake from our local grocery store (which was half the price but all of the taste of one fancy cake).
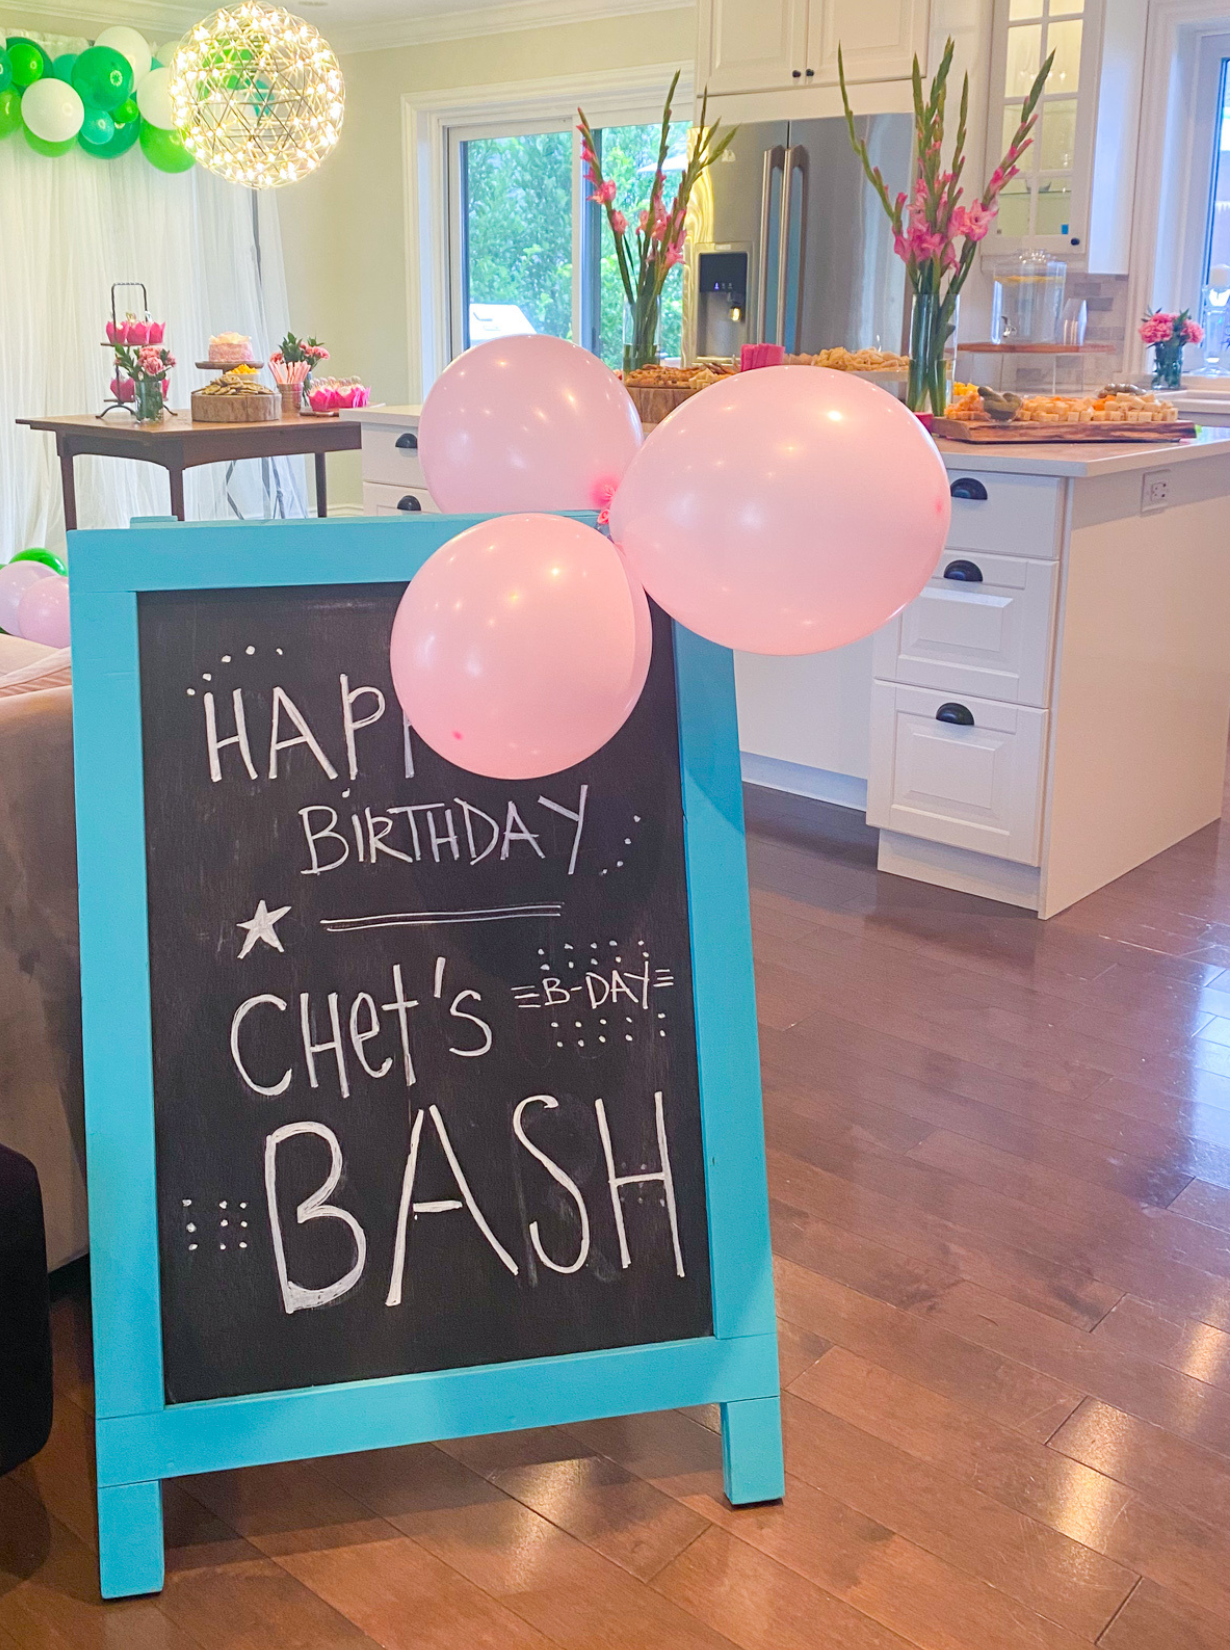
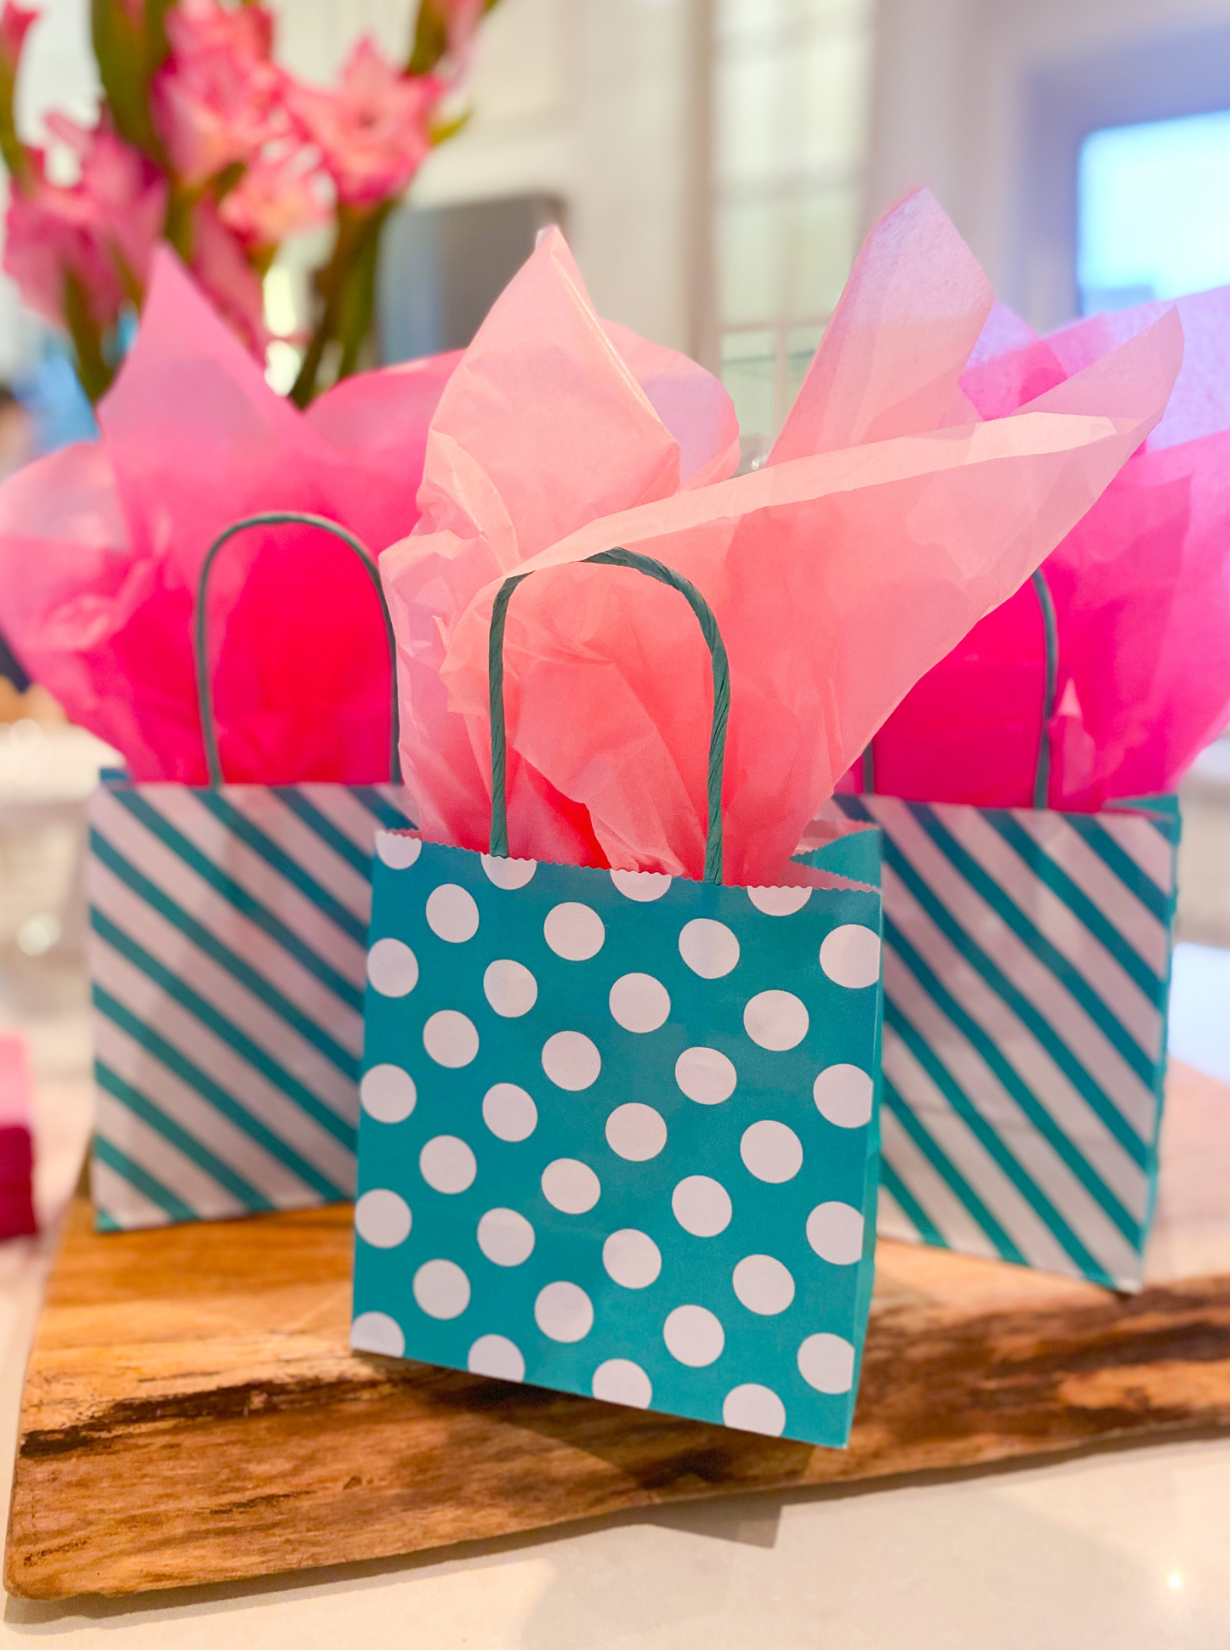
Decorations - my fist stop was (and always is) Party City for inspiration and those extra special pieces. I then popped over to the Dollar Store to pick up all those things that you don’t need to pay a premium for. I then picked up flowers from my local grocery store.
Pictures - the key here is to remember to take pictures. On your iPhone is totally fine. Put it on Portrait mode to make it look extra fancy. Just remember to get a shot and video of everything, and you can use Lightroom after to edit it.
Thank You Notes - I tried my best to keep track of every present Chet opened and whom it was from, but it was chaos. I then sent a thank you text to every guest for their gift and for coming.
Alright, I think that covers most of the big pieces. Stay tuned for another post from me on my favourite DIY, COST-FRIENDLY decorations coming very soon.
What’s your favourite party tip? I’d love to know. Tell me below.