
Snacks for Kids: Homemade Fruit Roll-Ups
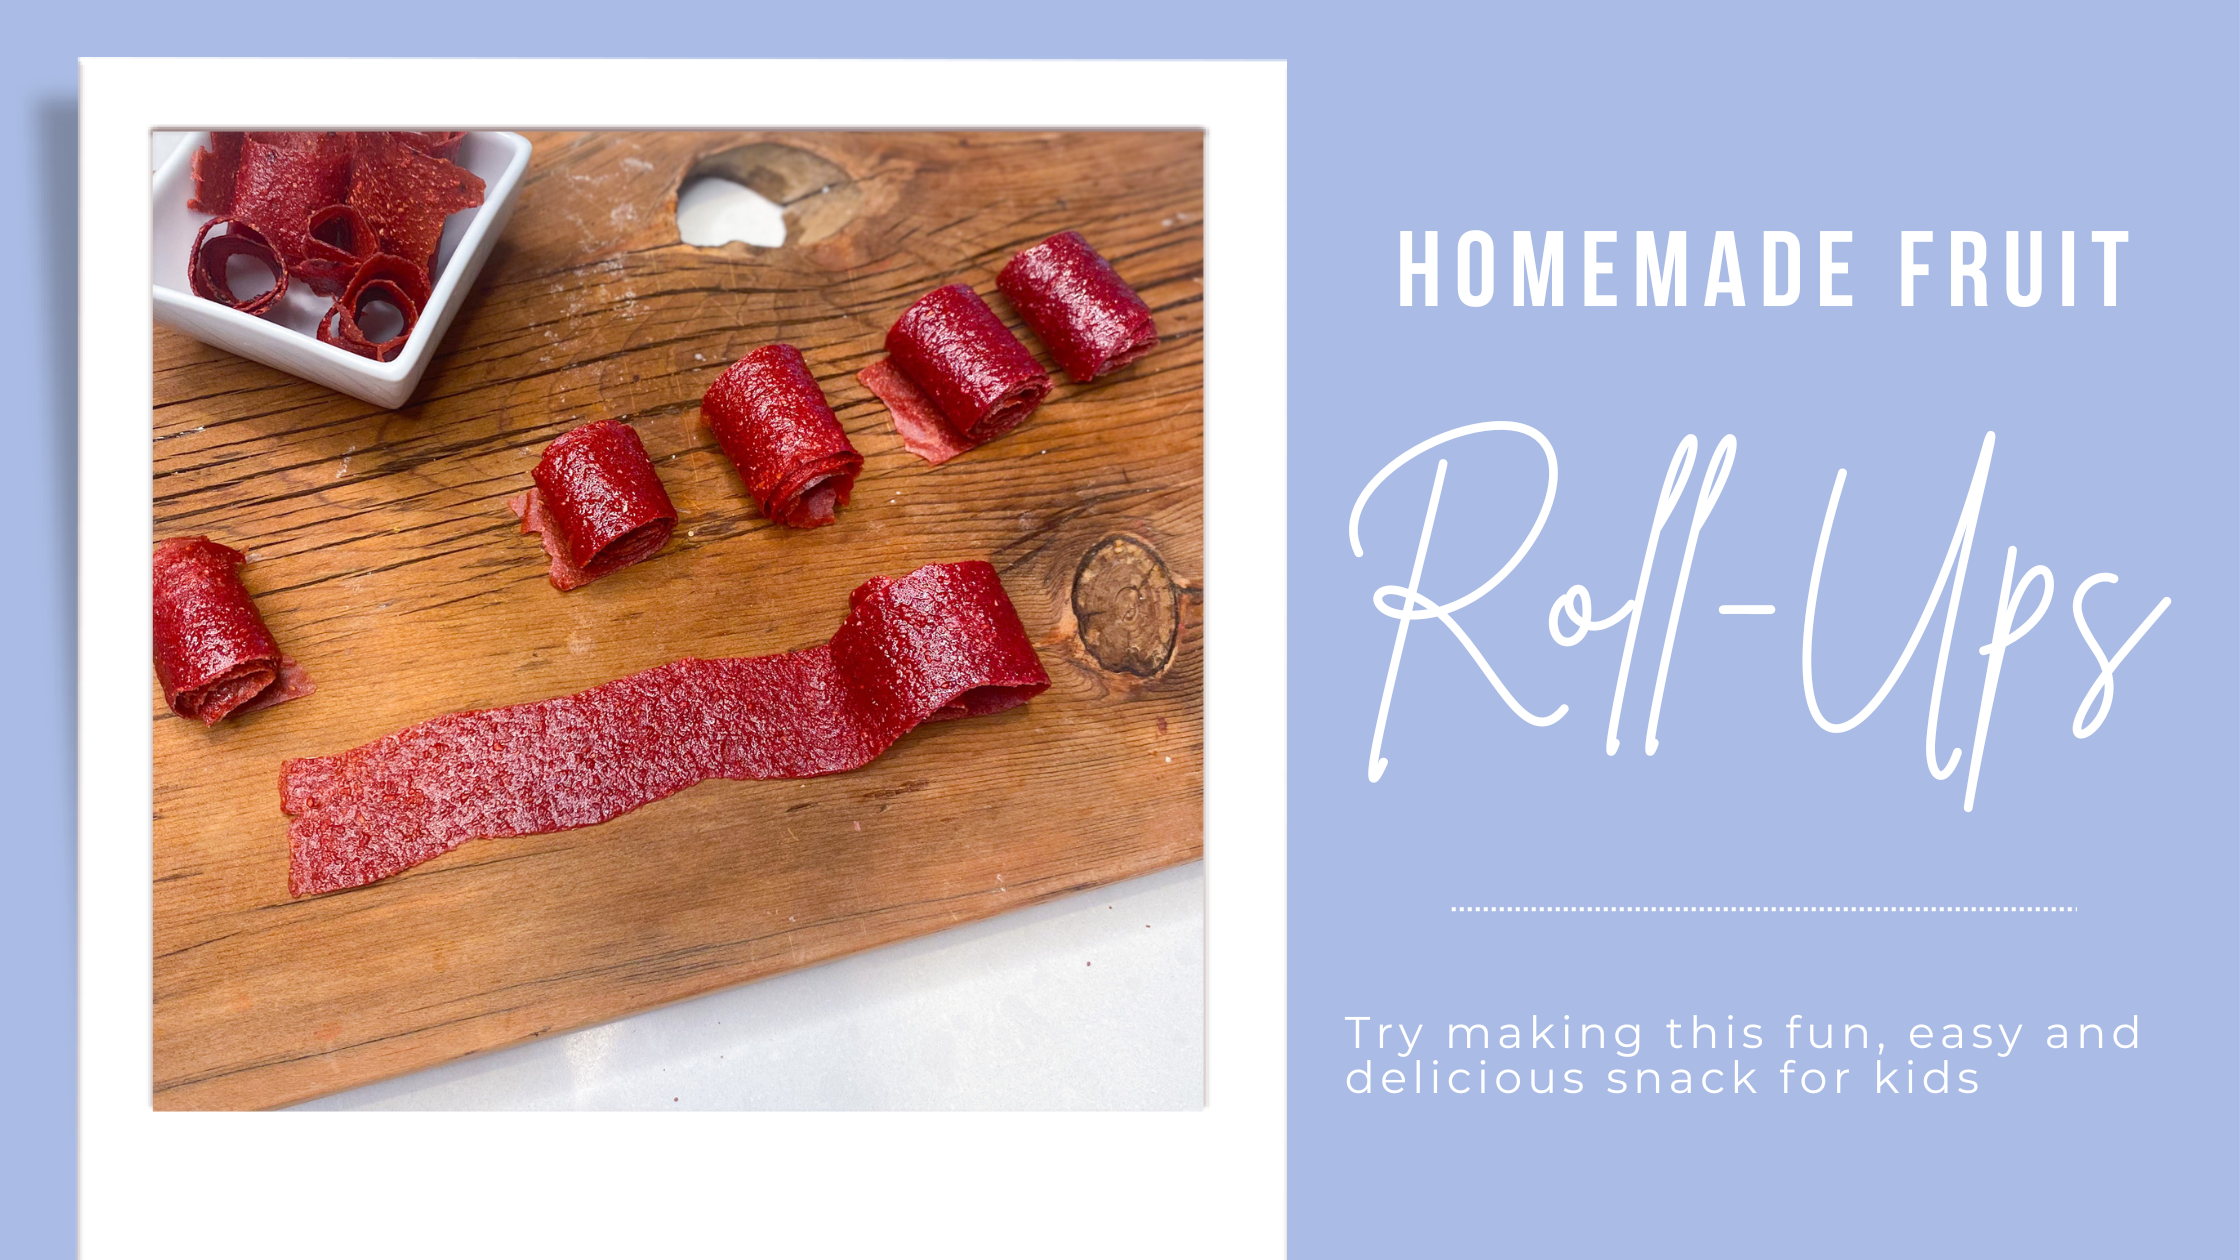


As a mom, I am always looking for fun and delicious snacks for my kids — and if they can be healthy, even better. When I came across this recipe for homemade fruit roll-ups, I knew I needed to give it a go — and now it’s part of my usual snacks for kids.
MAKING HOMEMADE FRUIT ROLL-UPS
I never thought too hard about fruit roll-ups growing up. Though, I always loved them — and now my kids do too. It’s only as a parent that I realized a lot of store-bought fruit roll-ups have harmful ingredients. Or, they are “healthy fruit roll-ups” but you only get four!
SO, making them at home made sense — especially since this recipe only has three ingredients and takes five minutes to prepare. It’s made with fresh fruit, lemon and honey — and that’s it. You can also make them with your kids, as a fun family activity.
IS IT HARD TO DO?
I don’t know about you, but if anything is too hard or takes too long — I’m out. That’s why I am in full support of making this recipe, and sharing it with other parents. As a bonus, you can make this with your kids and it’s fun to see fresh fruit turn into fruit leather.
The hardest part is that it takes 3 - 4 hours to bake. But, the good news is, you don’t have to do anything. Just pop it in the oven, go about your morning, and check on it from time to time. Then it’s done! It’s stays good for up to three weeks (in a ziplock bag or container) and yields 16-20 fruit roll-ups, so your time is well spent — unless your kids eat them first.
RECIPE
Ingredients
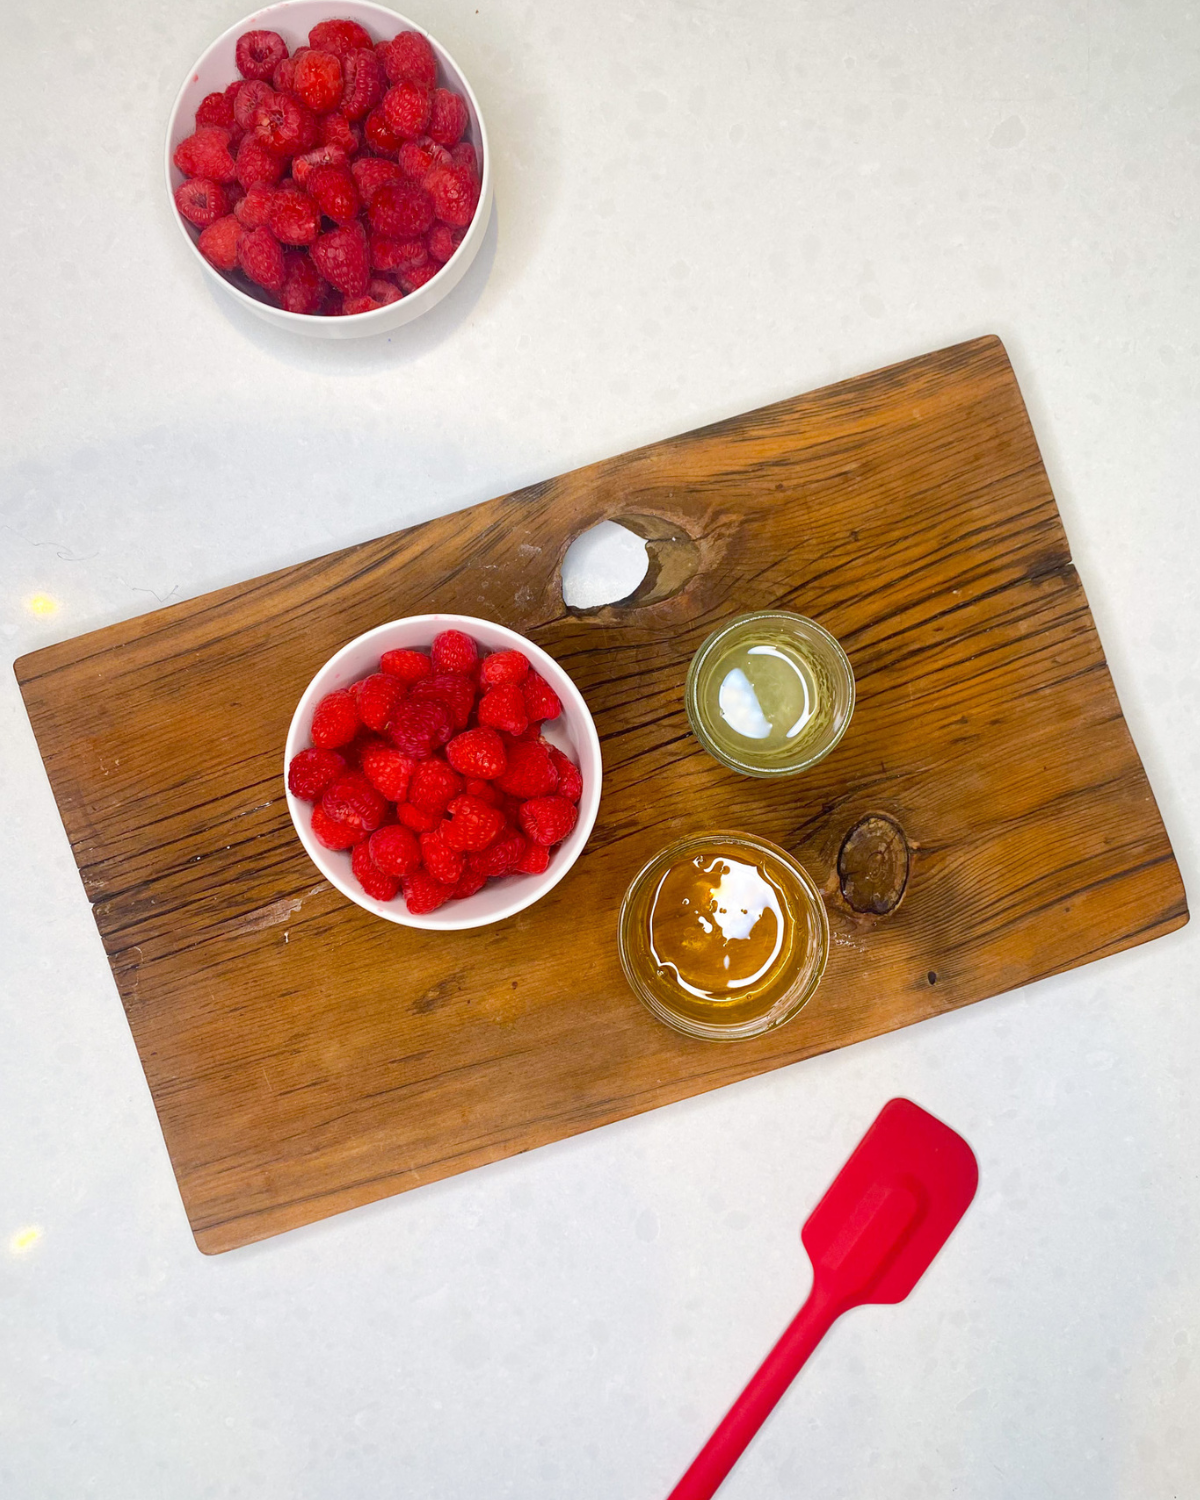
1 pound fresh raspberries (4 small containers)
¼ cup honey
1 tbsp fresh lemon juice
Steps
Preheat oven to 170°F.
Line two 17-by-12-inch baking sheets with parchment paper or silicone baking mats.
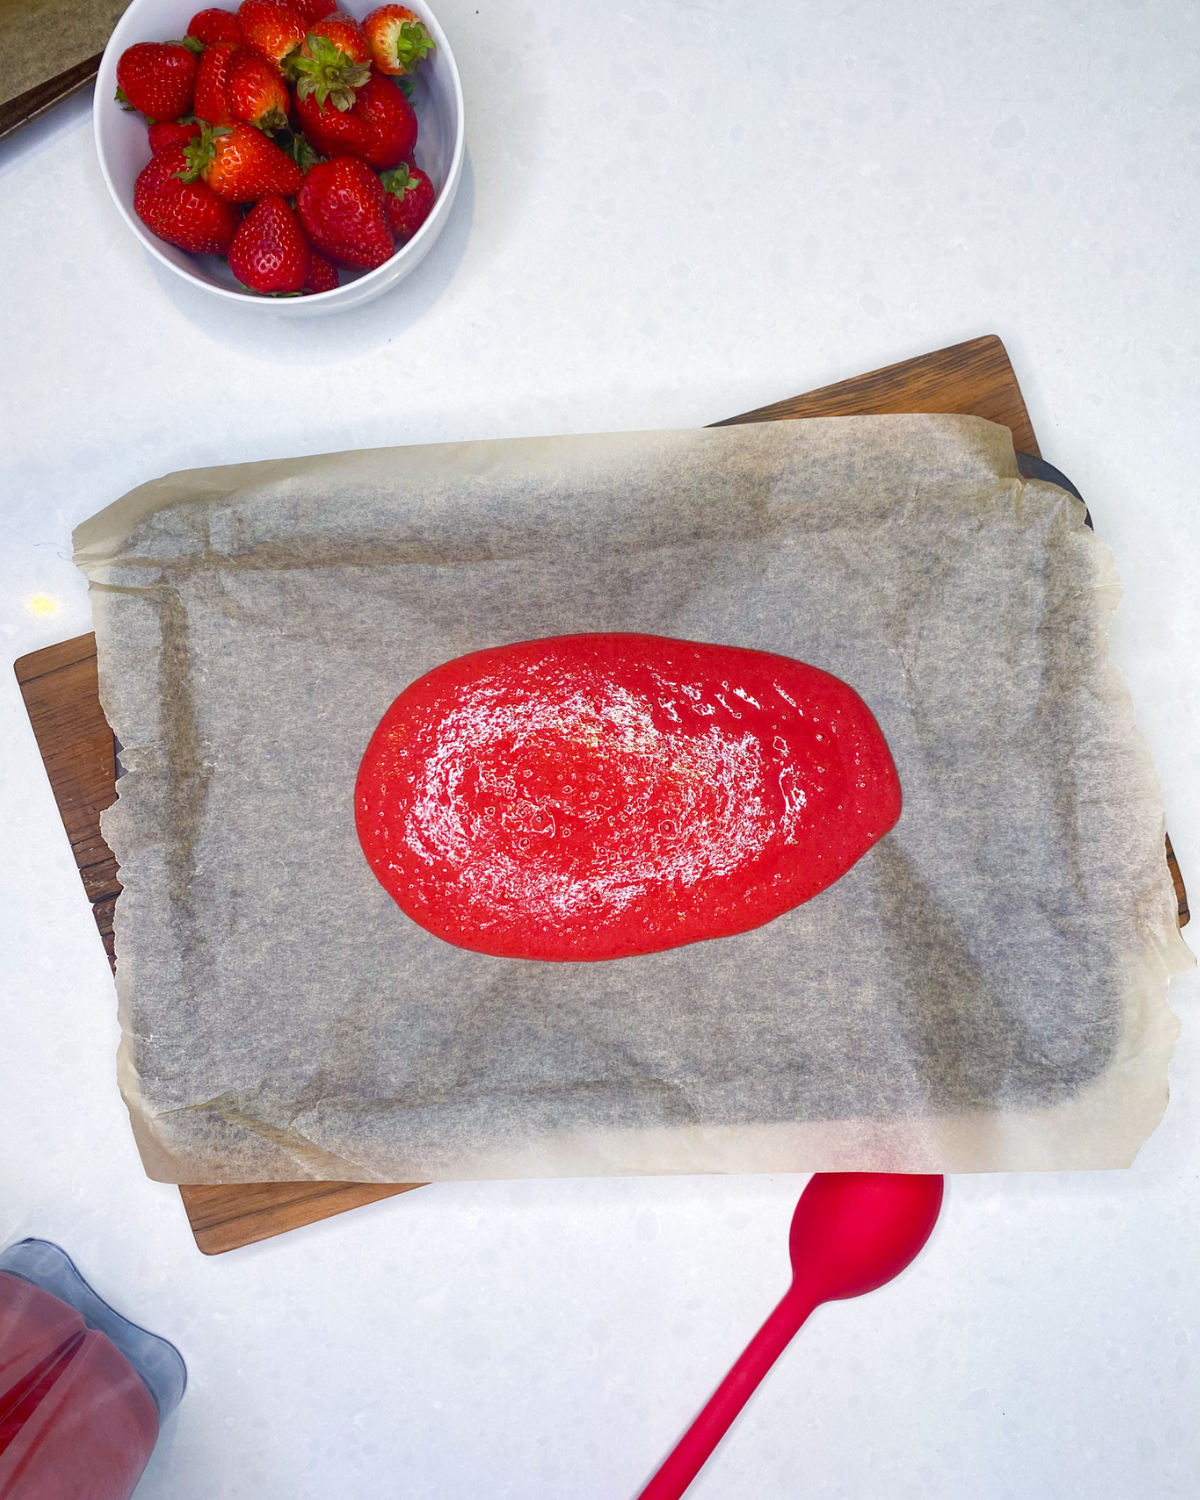
Place the raspberries, honey and lemon juice in a high speed blender, food processor, Magic Bullet or Vitamix — and blend until smooth. 2-3 minutes.
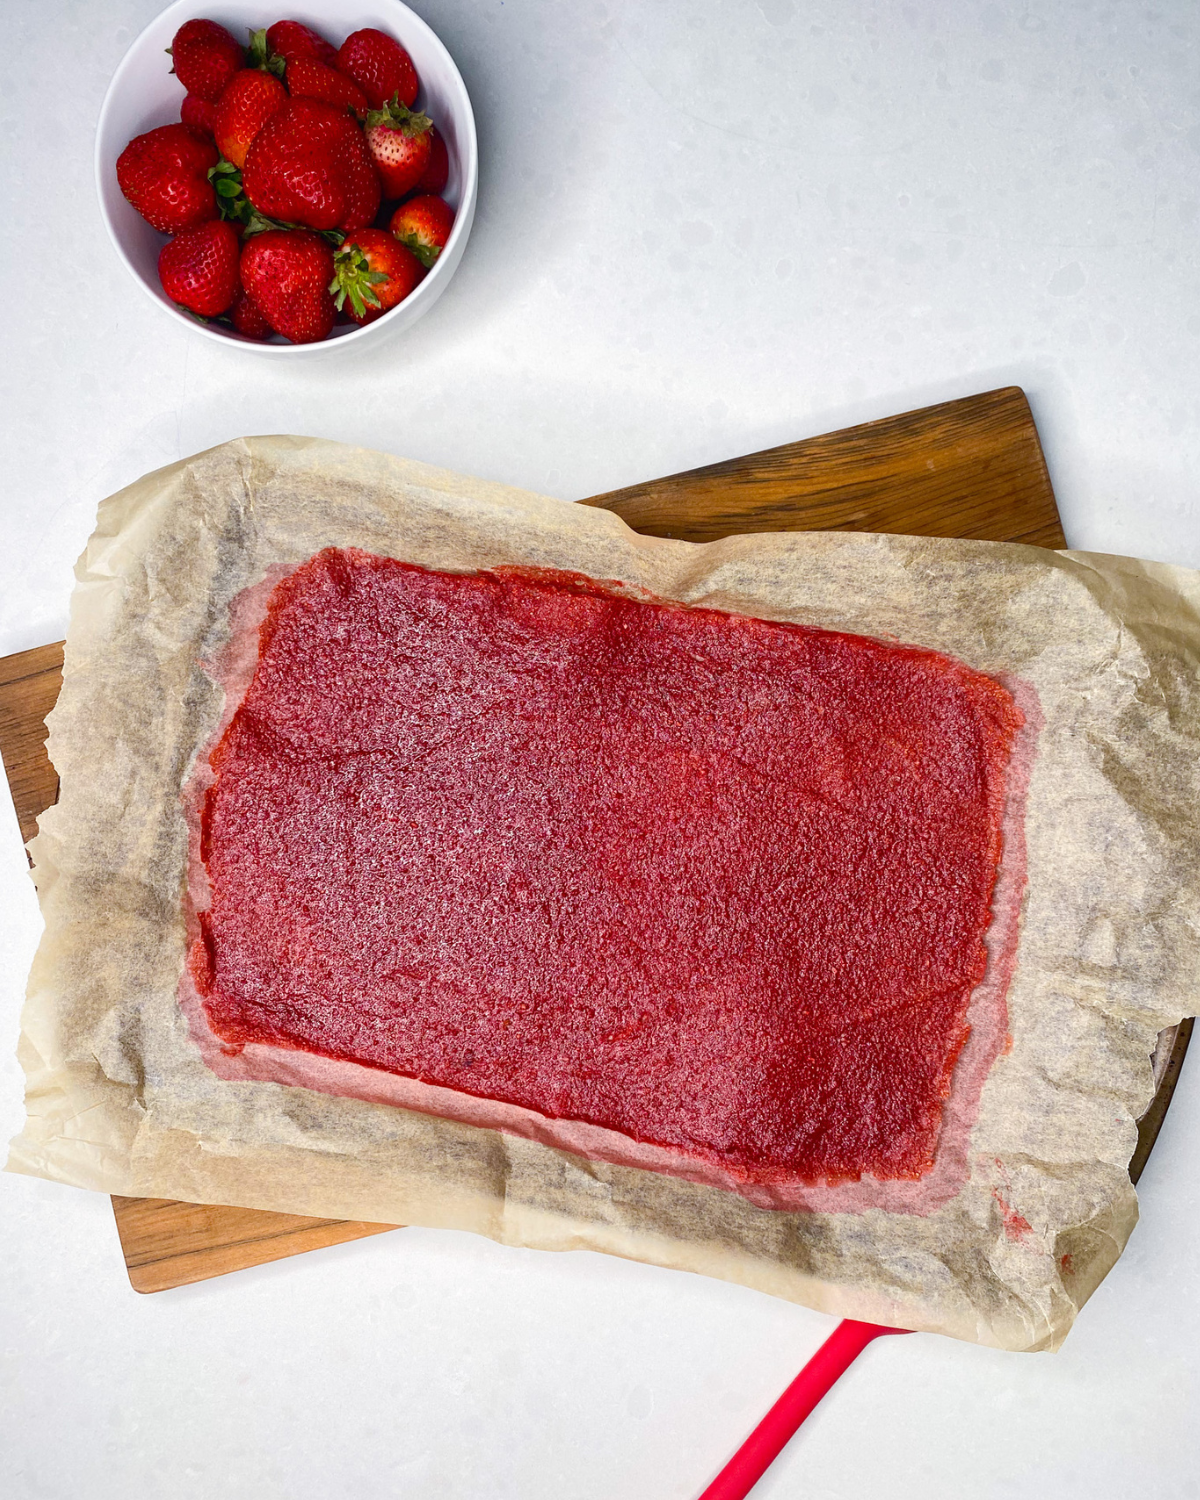
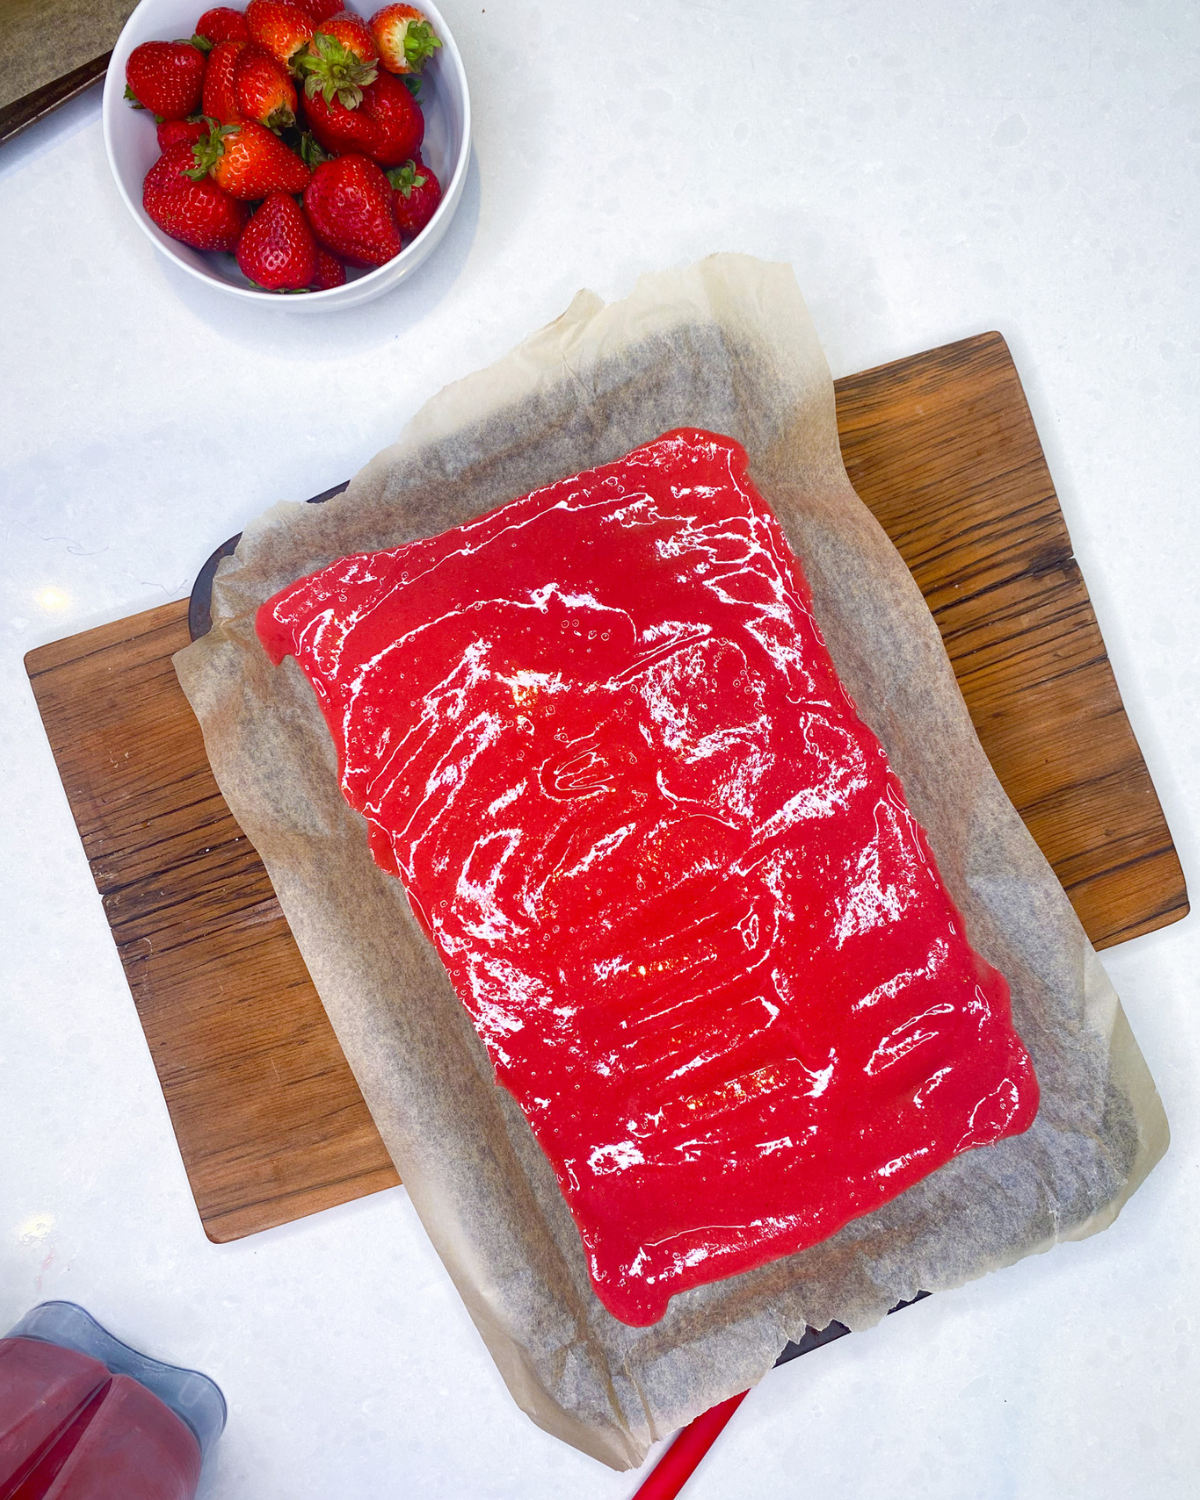
Split the mixture equally and spread the mixture evenly onto the baking sheets. This part is important. Make sure it is spread out as far and as evenly as possible. Use a spatula.
Place in oven, and bake for 3-4 hours. It could take even longer, depending on your oven. Essentially, you are trying to dry it out — and it’s a slower process.
Rotate the pans halfway. Turn 180 degrees and swap levels. In the first few hours, you won’t see a big change. It’s really in the last hour that you will see it turning into more of a leather texture. Keep a closer eye on it for the last hour.
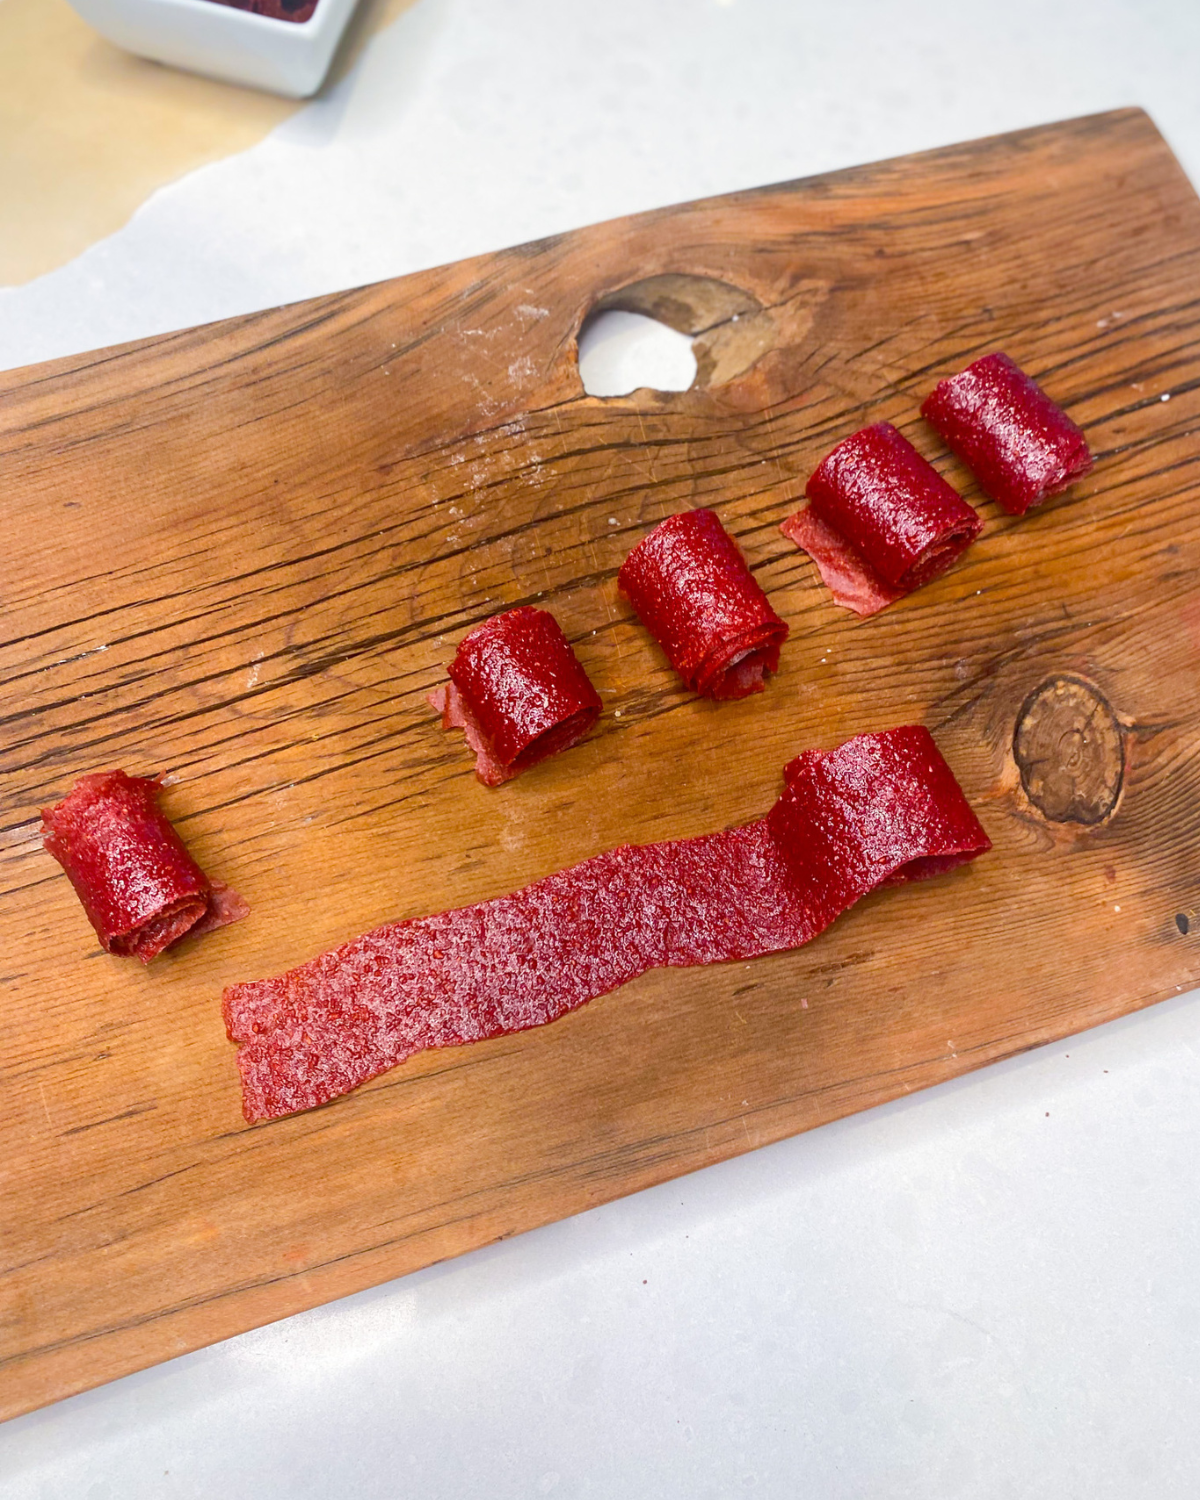
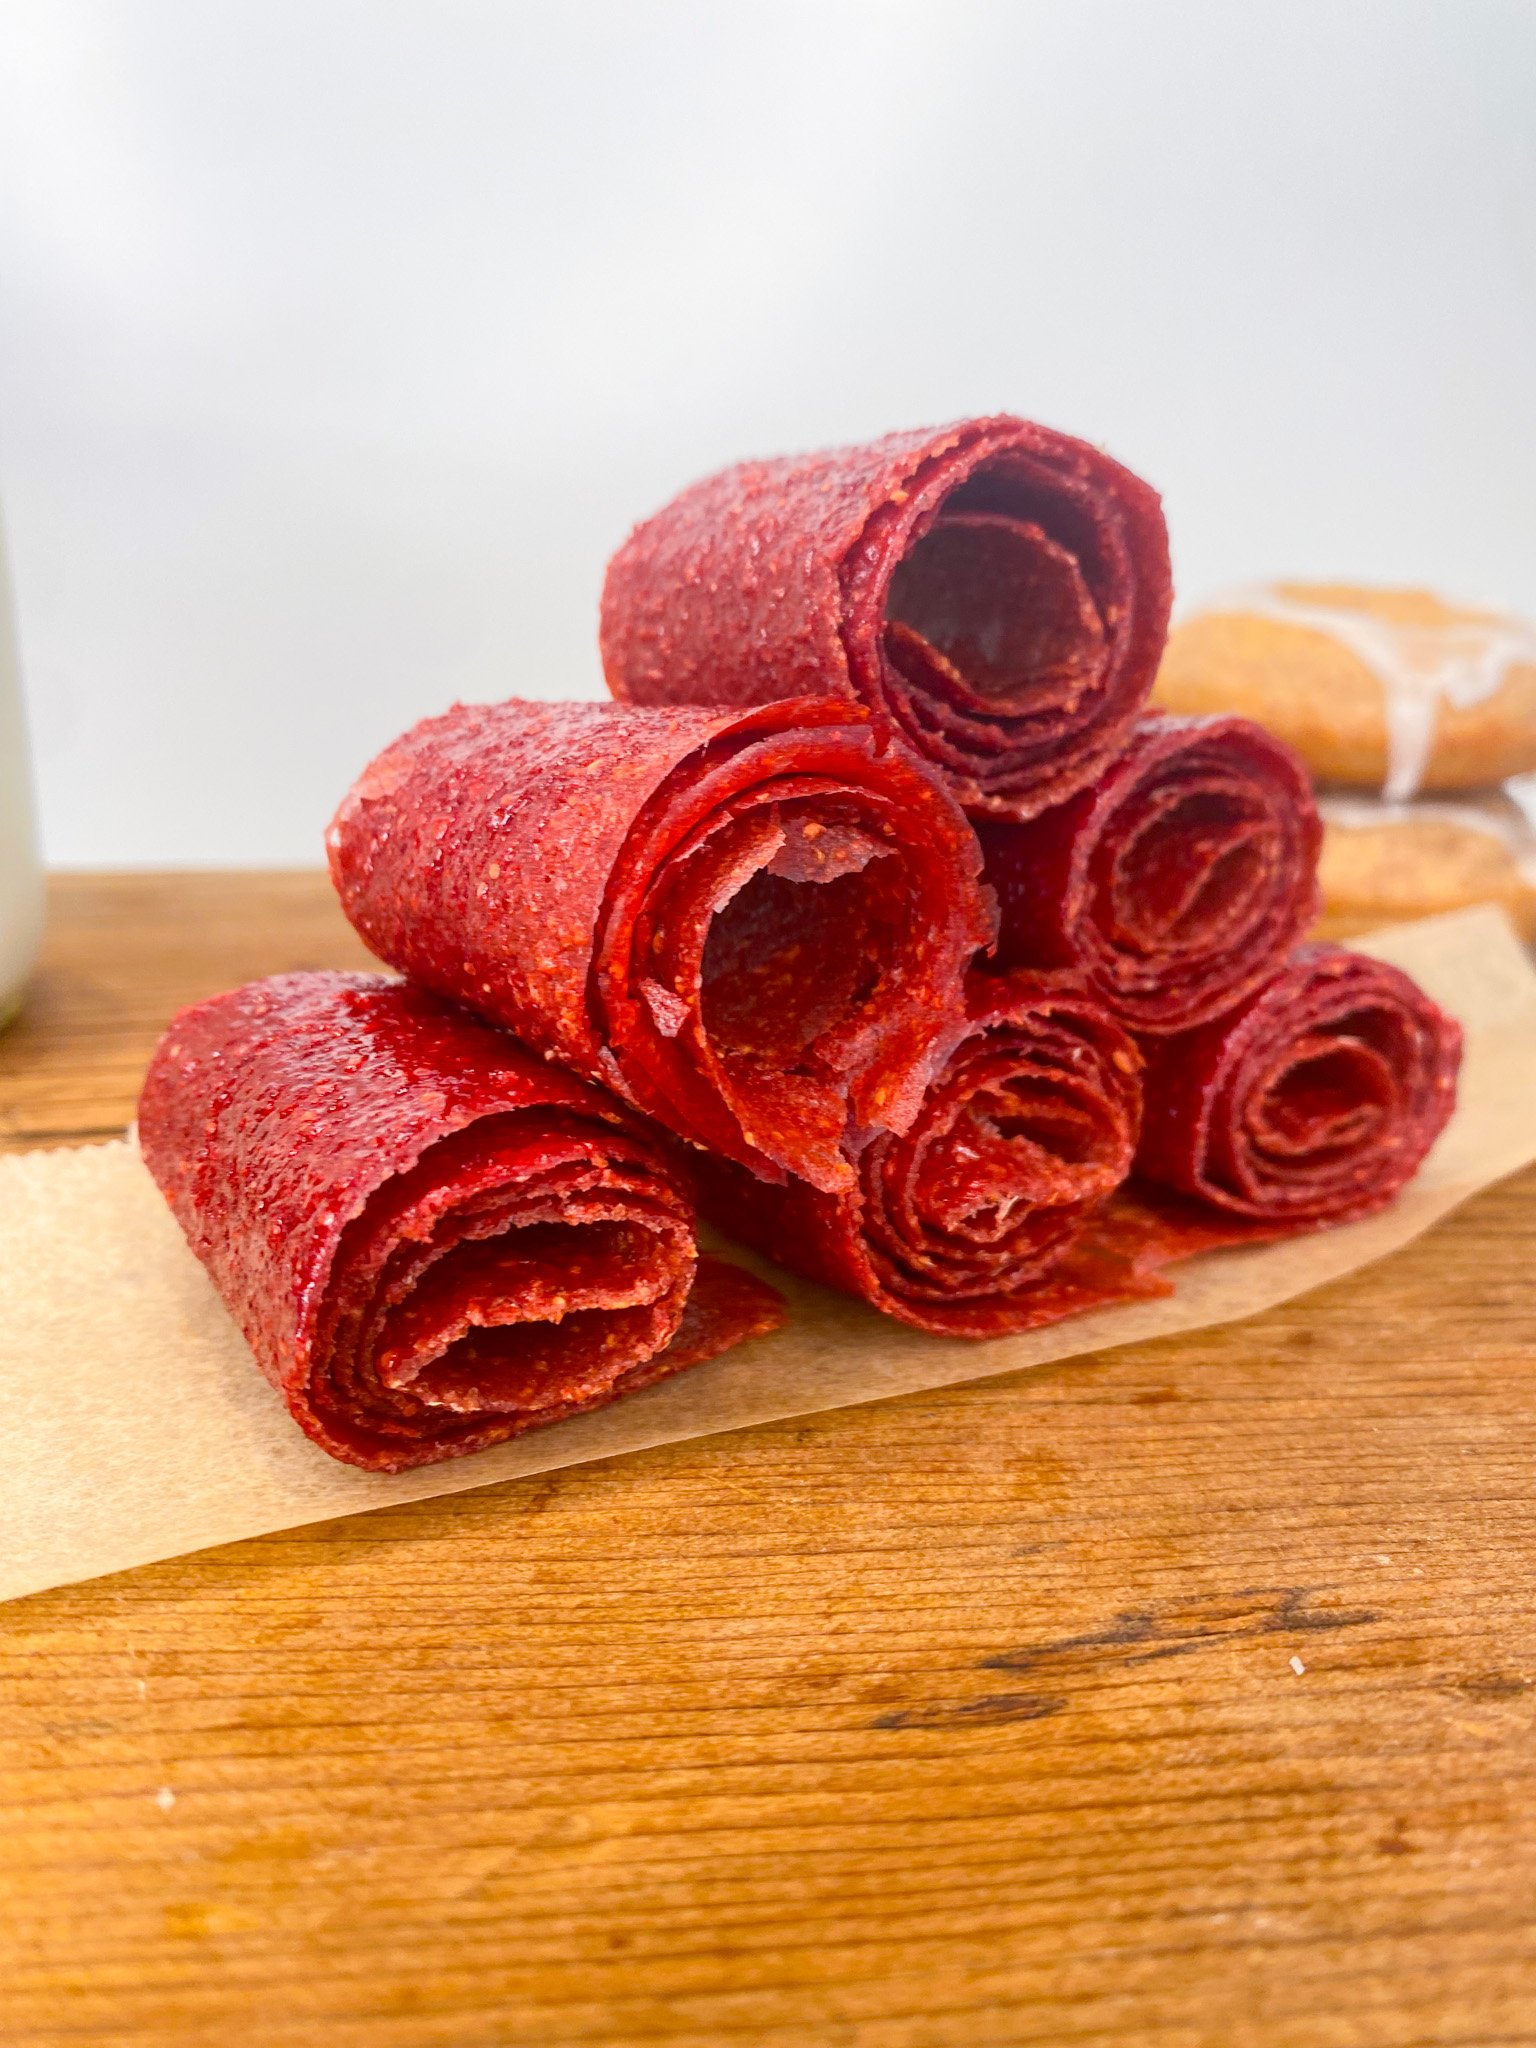
Bake until the leather is no longer sticky to the touch. You will see the texture will look like actual fruit roll-ups.
Remove from oven, let cool.
Use a pizza cutter, scissors or a knife to cut into slices. Roll each slice.
Store in airtight container or ziplock bag for up to three weeks on the counter.
Note:
once you do this the first time, you will see how easy it is
one of my sheets turned out perfectly. On the second one, I had a few brown spots. I think it was because my second oven shelf was too high (you want them both in the middle) and my mixture wasn’t spread evenly. Don’t worry about the spots, you can simply cut around them.
these store and travel great, and are perfect for kid’s lunches
I hope you try making this fun and easy recipe for homemade fruit roll-ups. It’s a healthy and delicious snack for kids made with only three ingredients and takes ten minutes to prepare. Your kids will love making it with you, just as much as they will love eating them.
Do you and your kids like fruit roll-ups? I’d love to know! Tell me below.
👋🏻 Hi, I’m Lindsay – a best-selling author, artist, lifestyle blogger and mama sharing fun + creative ideas for your family + home.
👉🏻 Subscribe to my newsletter, and check out my Amazon shop for deals.